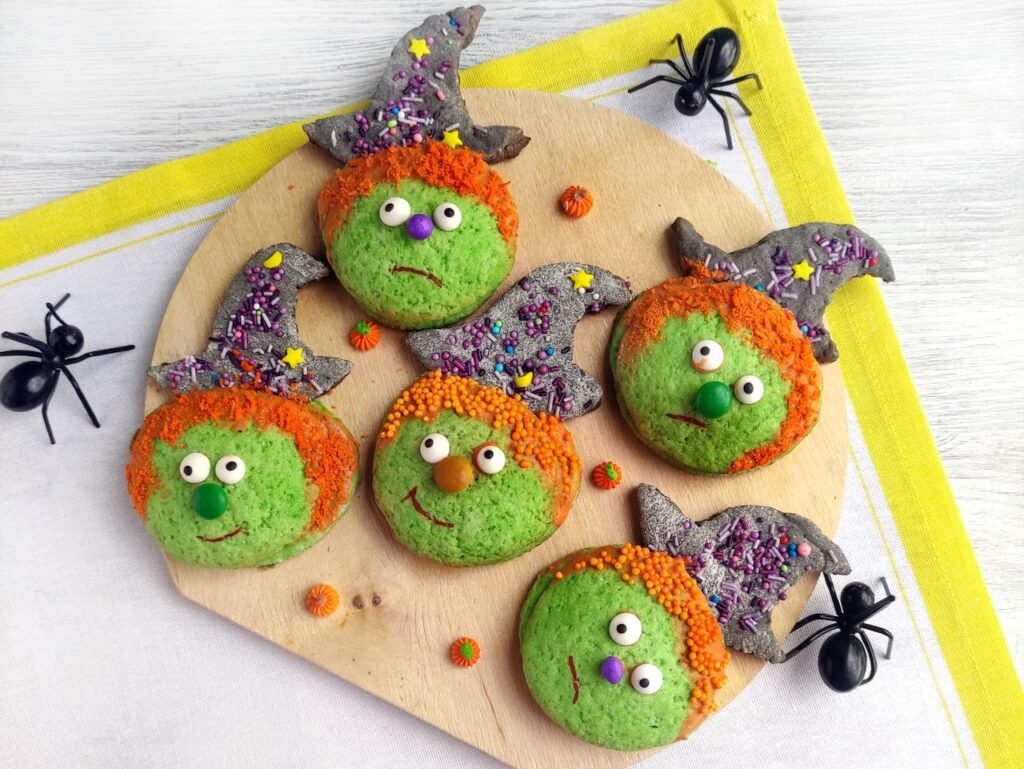
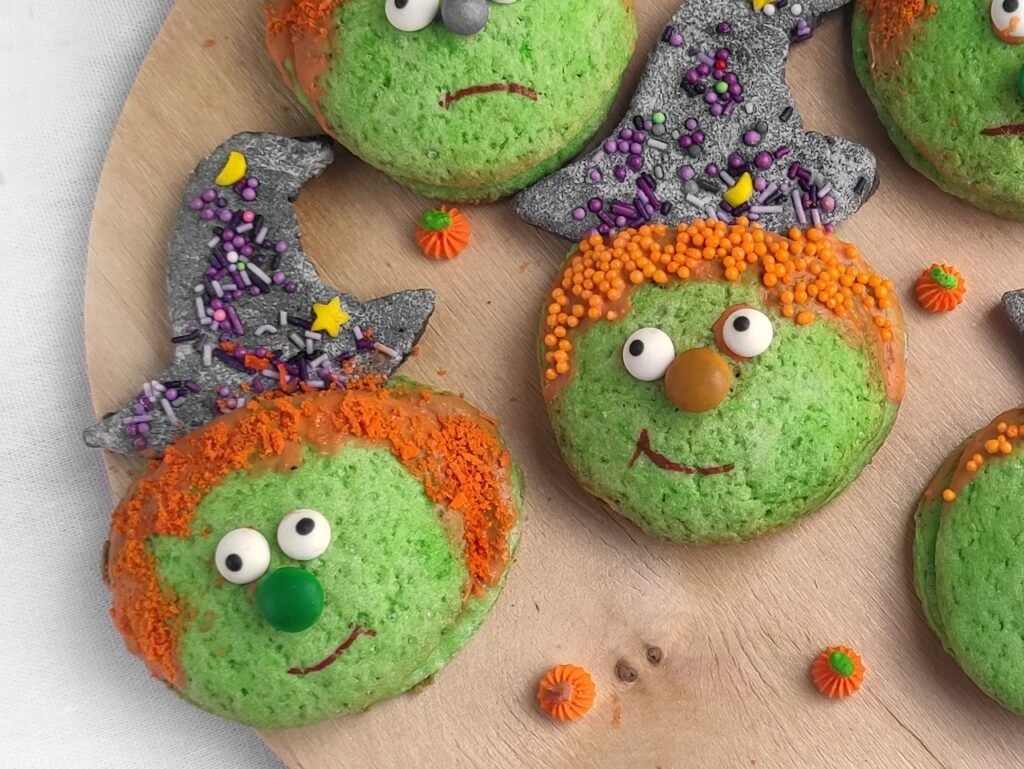
Halloween Witch Cookies with Hidden Candy Centers
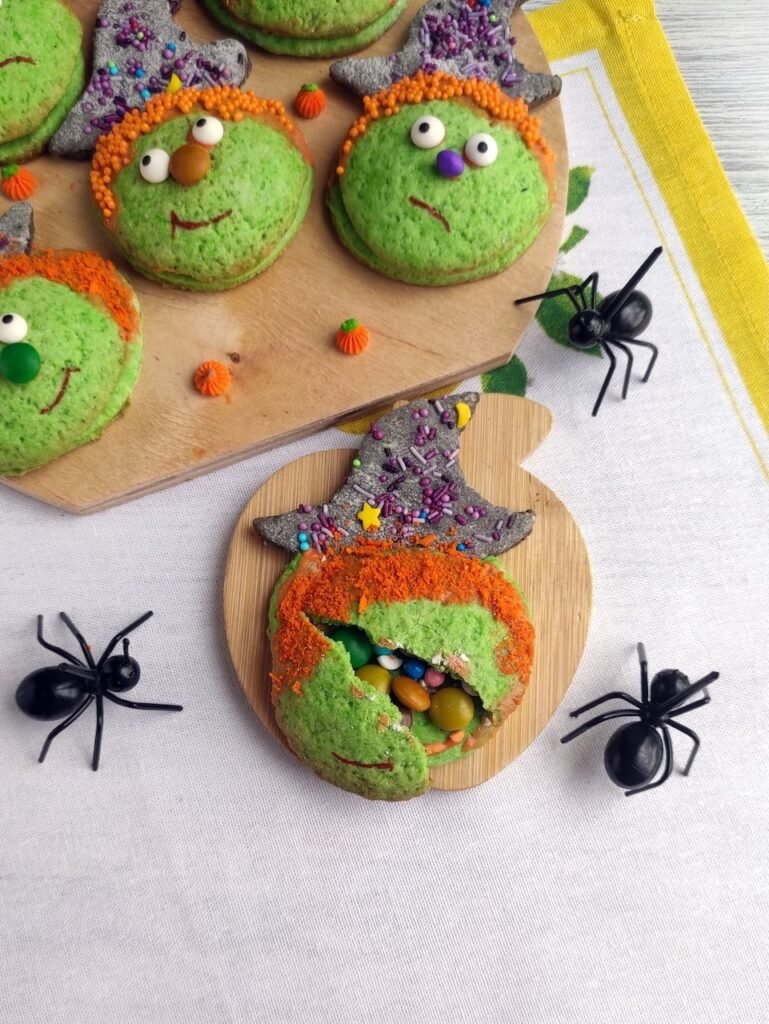
Halloween is such a fun time to be in the kitchen, especially when you’re making treats the kids will talk about for days. These candy-filled Halloween witch cookies look spooky on the outside, but inside they hide a sweet surprise of candy that spills out when you crack them open. They’re one of my favorite Halloween cookies recipes to make with my grandchildren, and they always bring big smiles.
What I love about these cookies is how easy they are to customize. You can fill them with your family’s favorite candies, decorate them with sugar eyes and sprinkles, and let the little ones help with the finishing touches. Whether you’re adding them to a Halloween party desserts table, sending them along to a school event, or simply enjoying a cozy baking day at home, these playful spooky Halloween treats are sure to be a hit.
Why You’ll Love These Halloween Witch Cookies
Ingredients You’ll Need
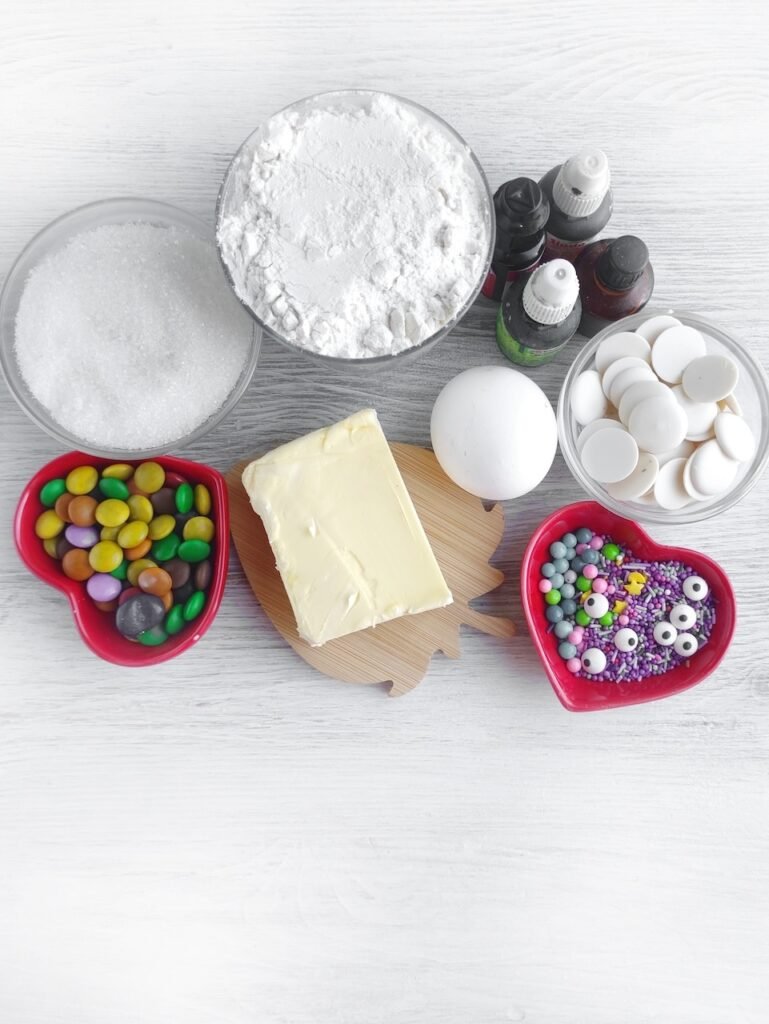
For the Dough
- butter, softened
- Egg
- Water
- Sugar
- White flour
- Green food coloring
- Black food coloring
For the Filling and Decorations
- Mini candies (such as mini M&Ms or Skittles)
- White chocolate, melted
- Orange food coloring
- Orange coconut flakes
- Sugar eyes
- Sprinkles and edible beads
How to Make Candy-Stuffed Halloween Witch Cookies
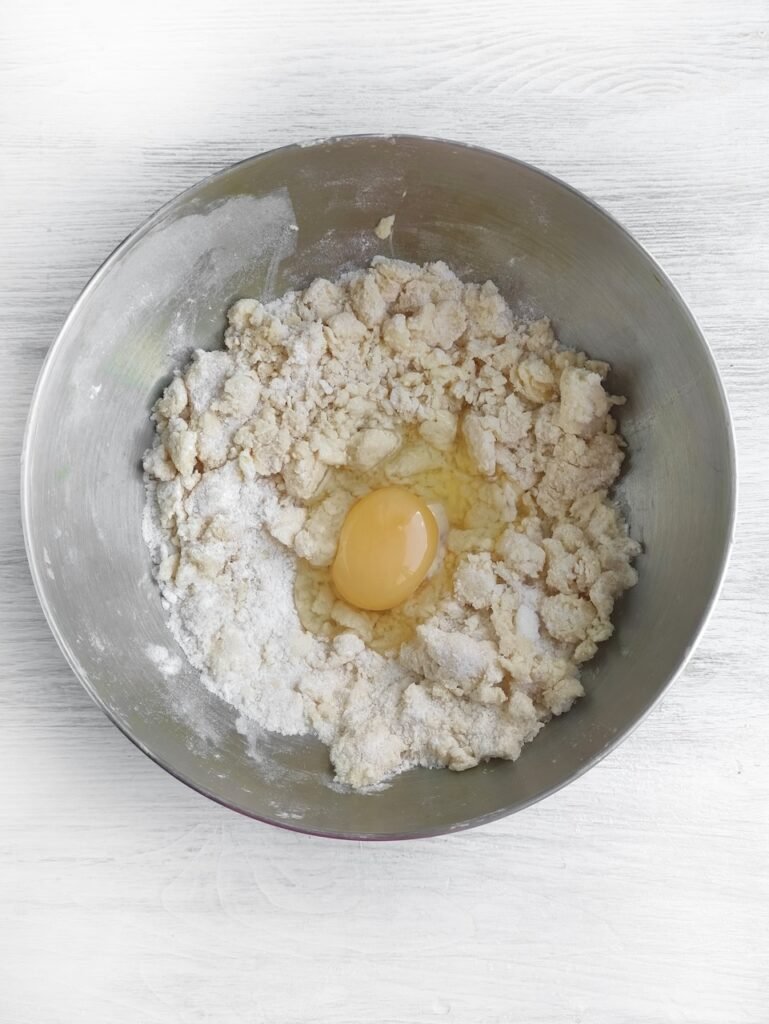
Step 1: Make the Dough. Place the softened butter, flour, and sugar in a bowl. Rub together with your hands until crumbly. Add the egg and water, then knead until a soft dough forms.
Step 2: Color the Dough. Separate about one-third of the dough and color it black. Color the remaining dough green.
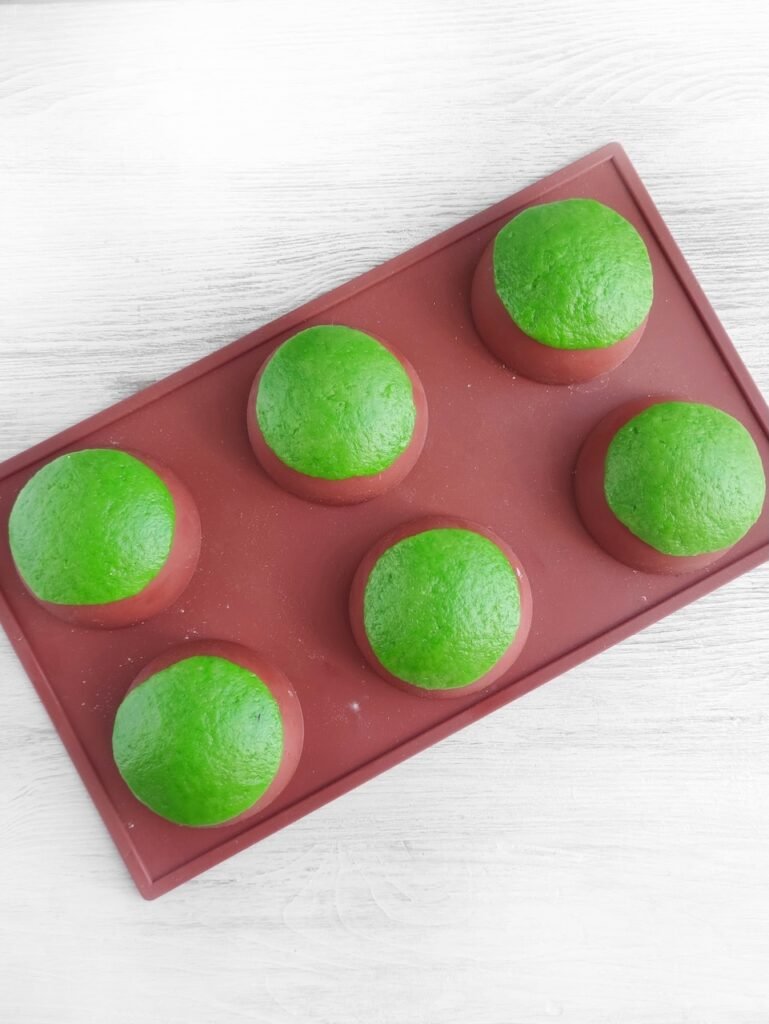
Step 3: Shape the Cookies. Roll out the green dough to about ½-inch thickness and cut out 2½-inch circles. Place the circles over the outside of a silicone mold to form cups.
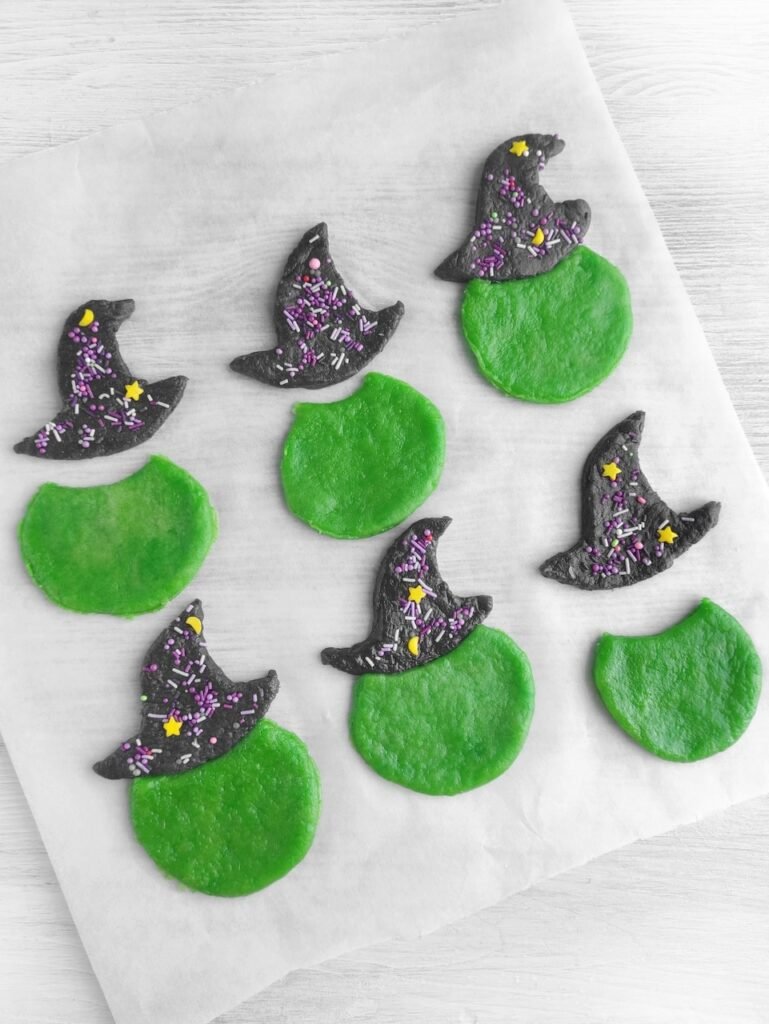
Roll out the black dough and cut out witch hats using a template or mold. Decorate with sprinkles.
Form 2-inch circles from the remaining green dough and make a small hole near the top of each one. Brush the hat and face pieces with a little water and press them together. Place on a parchment-lined baking sheet.
Step 4: Bake. Bake the witch faces and cookie cups at 350°F for 8–10 minutes, or until set. Let cool completely.
Step 5: Fill the Cookies. If needed, gently smooth the edges of the cookie cups with a grater. Fill each cup with mini candies.
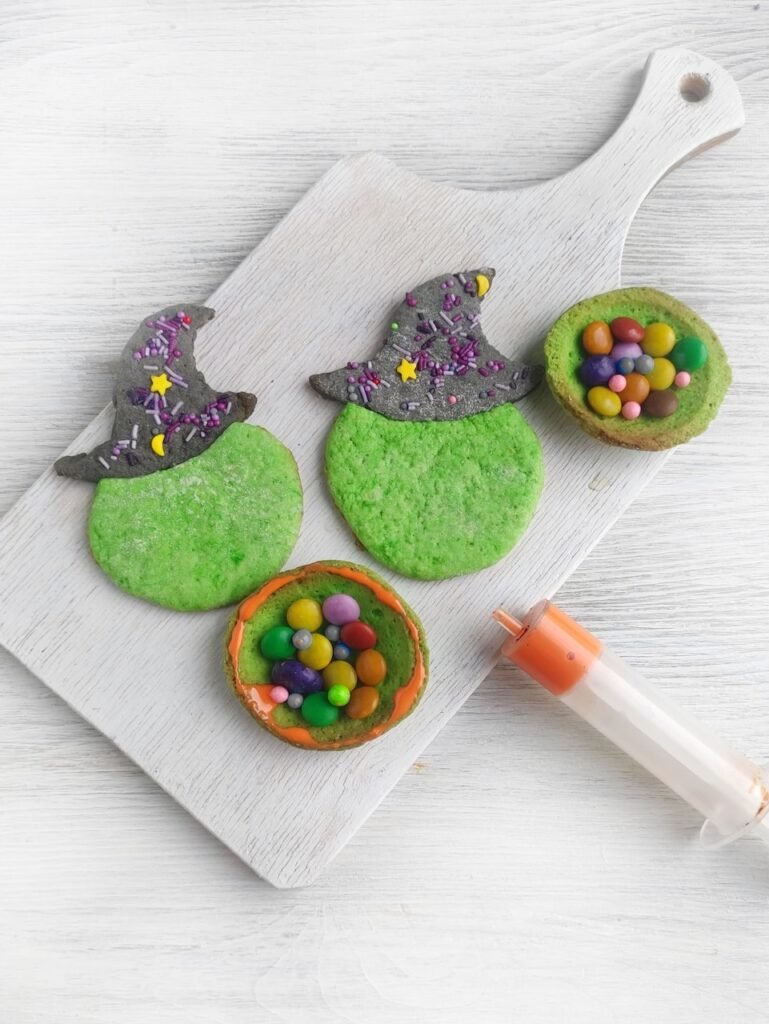
Step 6: Assemble and Decorate. Melt the white chocolate and color it orange. Spread a little chocolate around the rim of each candy-filled cup, then place the witch face on top and turn the cookie over.
Use more chocolate to attach the orange coconut flakes, sugar eyes, and decorative beads. Draw a smile with a food-safe marker and allow the decorations to set before serving.
Tips for Perfect Halloween Witch Cookies
How to Store Candy-Filled Cookies
- Store at room temperature: Place the cookies in an airtight container and store at room temperature for up to 3 days.
- Keep layers separated: If stacking the cookies, place parchment paper between layers to protect the decorations.
- Refrigerate for longer storage: Store the cookies in an airtight container in the refrigerator for up to 1 week.
- Freeze baked cookies: Place the fully cooled cookies in a freezer-safe container and freeze for up to 2 months.
- Bake ahead for parties: The cookie pieces can be baked a day or two ahead and assembled with the candy filling and decorations just before serving.
Halloween cookies FAQs
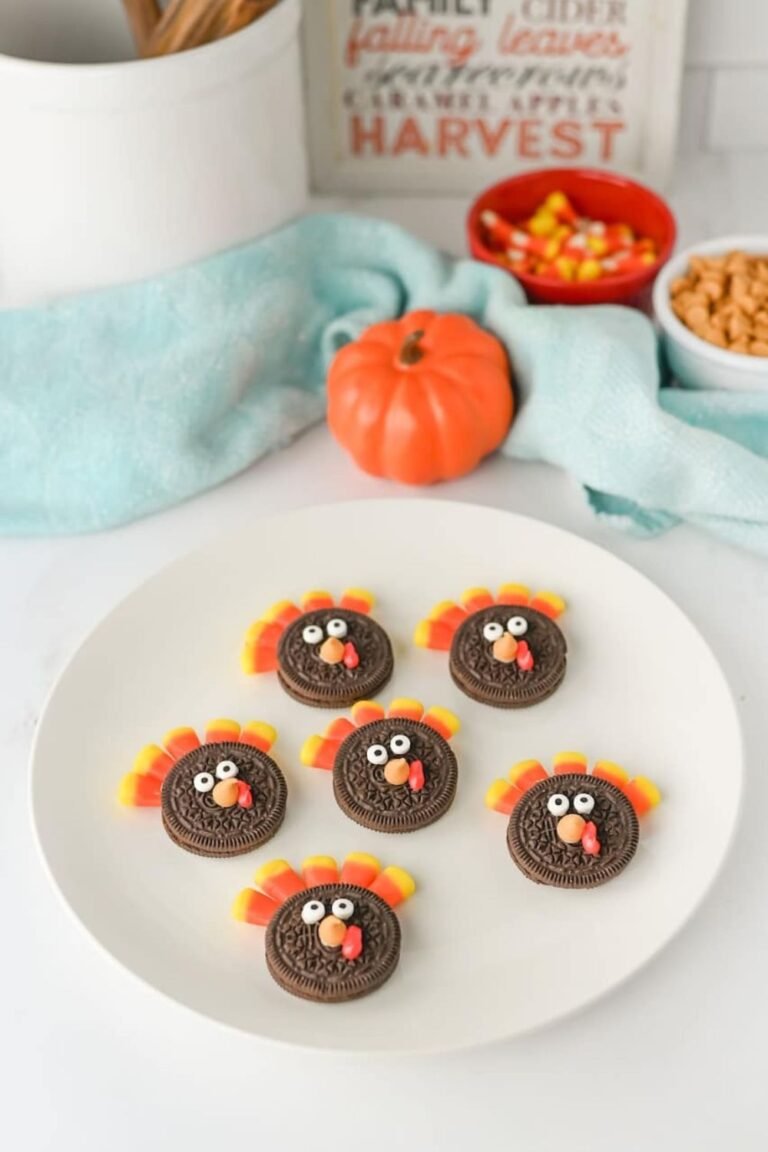
Looking for more fun Halloween desserts? Try our Oreo eyeballs for an easy no-bake treat, or make a batch of Oreo spiders that are always a hit with kids. For marshmallow lovers, our festive Halloween Rice Krispies Treats and adorable Frankenstein Rice Krispies Treats are perfect for Halloween parties, classroom celebrations, and spooky dessert tables.
Print
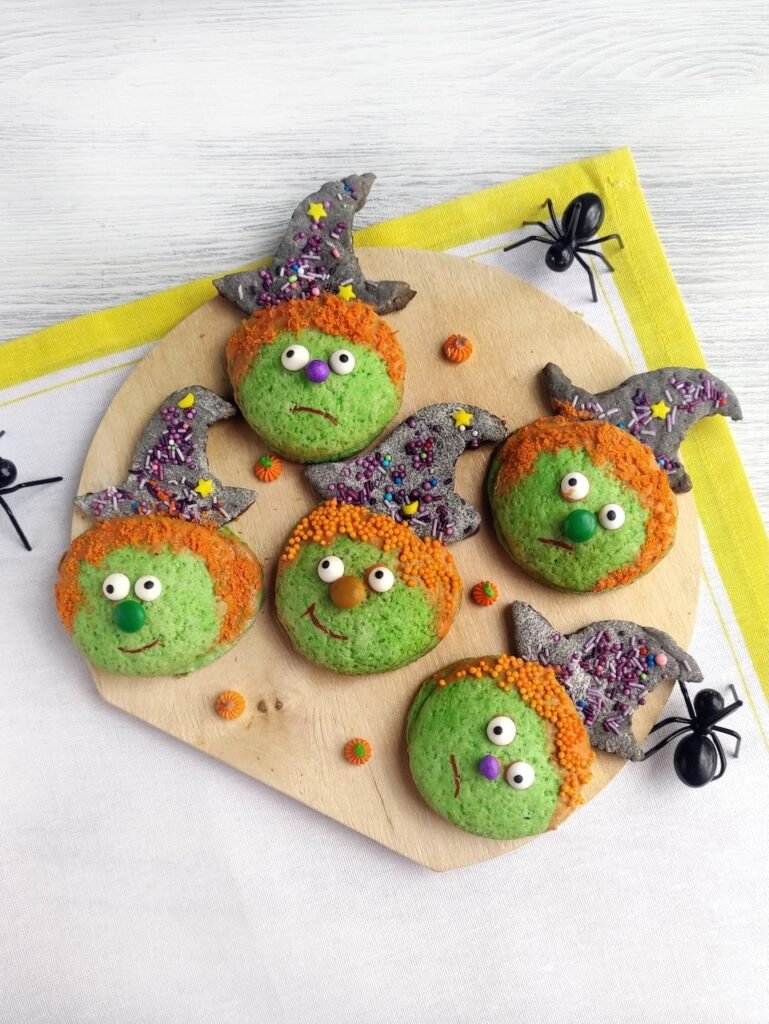
Candy-Filled Halloween Witch Cookies
These candy-stuffed Halloween witch cookies are a fun and festive Halloween treat made with colorful cookie dough, hidden candy centers, and spooky decorations. Perfect for Halloween parties, classroom celebrations, and family baking.
- Total Time40 minutes
- Yield12 1x
Ingredients
For the Dough
- 2 ounces butter, softened
- 1 egg
- 1 1/2 tablespoons water
- 1 tablespoon sugar
- 1 cup white flour
- Green food coloring
- Black food coloring
For the Filling and Decorations
- 1/3 cup mini candies (M&Ms, Skittles, or similar)
- 1/3 cup white chocolate, melted
- Orange food coloring
- Orange coconut flakes
- 12 sugar eyes
- Sprinkles and edible beads
Instructions
- In a bowl, combine the butter, flour, and sugar. Rub together until crumbly. Add the egg and water, then knead into a soft dough.
- Divide the dough, setting aside one-third. Color the smaller portion black and the remaining dough green.
- Roll the green dough to about ½-inch thickness. Cut out 2½-inch circles and place them over the outside of a silicone mold to form cups.
- Roll out the black dough and cut out witch hats using a template or mold. Decorate with sprinkles.
- Form 2-inch circles from the remaining green dough and make a small hole near the top of each circle. Brush the connection points with water and attach the hats to the faces.
- Place the cookie faces and cups on a parchment-lined baking sheet. Bake at 350°F for 8–10 minutes. Cool completely.
- Fill the cooled cookie cups with mini candies.
- Melt the white chocolate and tint it orange. Spread a small amount around the rim of each cup and place the witch face on top to seal. Turn the cookie over.
- Use additional chocolate to attach the coconut flakes, sugar eyes, sprinkles, and beads. Draw smiles with a food-safe marker if desired.
- Allow the decorations to set before serving.
Notes
- Gel food coloring produces the most vibrant colors.
- Mini candies work best for the hidden candy center.
- Allow the cookies to cool completely before decorating.
Nutrition
- Serving Size: 1 cookie
- Calories: 78 kcal
- Sugar: 5 g
- Fat: 4 g
- Saturated Fat: 2 g
- Carbohydrates: 10 g
- Protein: 1 g
- Cholesterol: 19 mg
If you tried this recipe, please leave a star rating and comment below. I’d love to hear how your witch cookies turned out and what candy surprise you used inside!