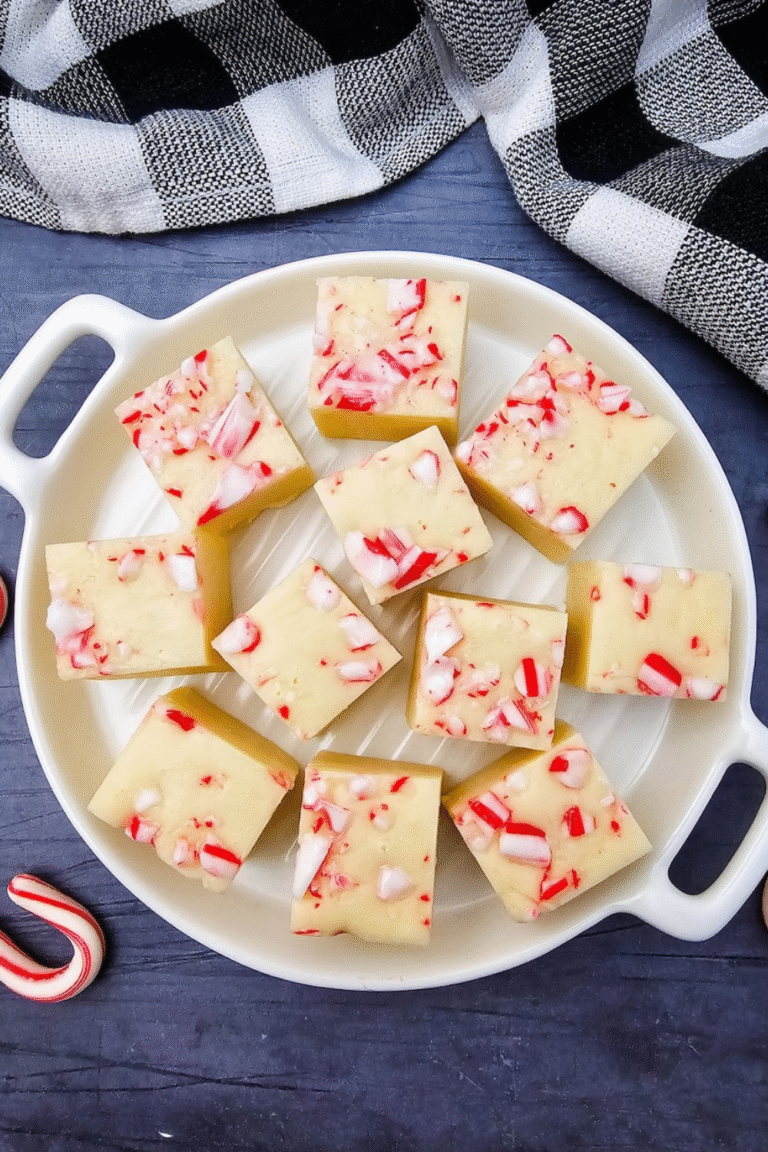
Christmas Fudge
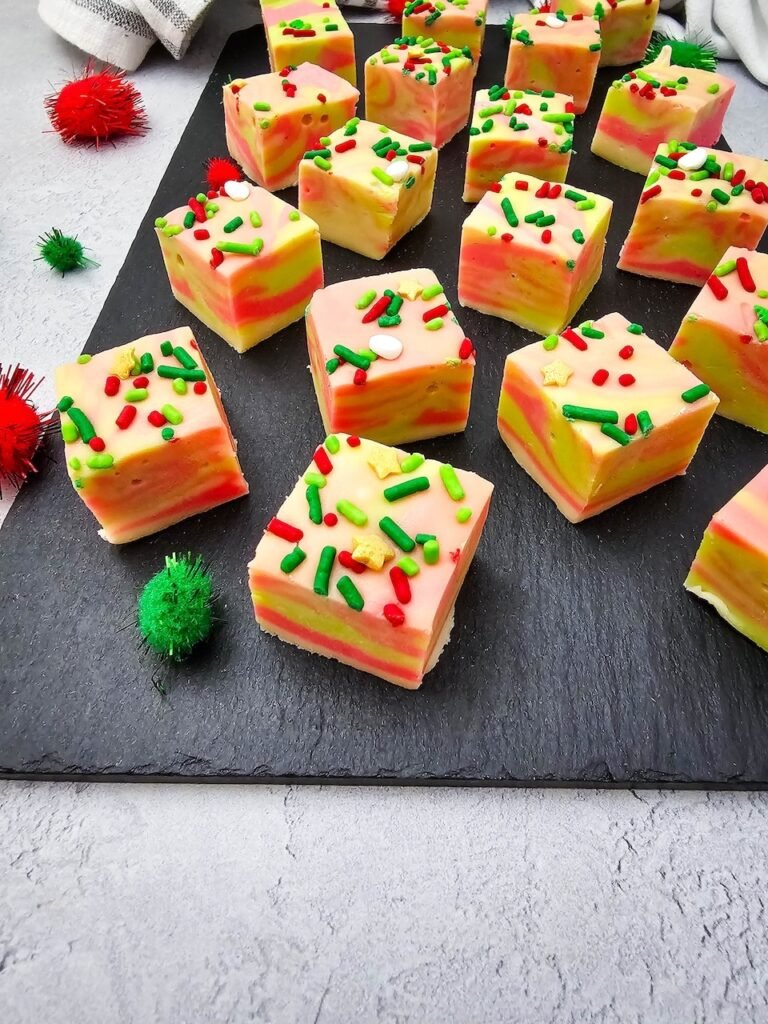
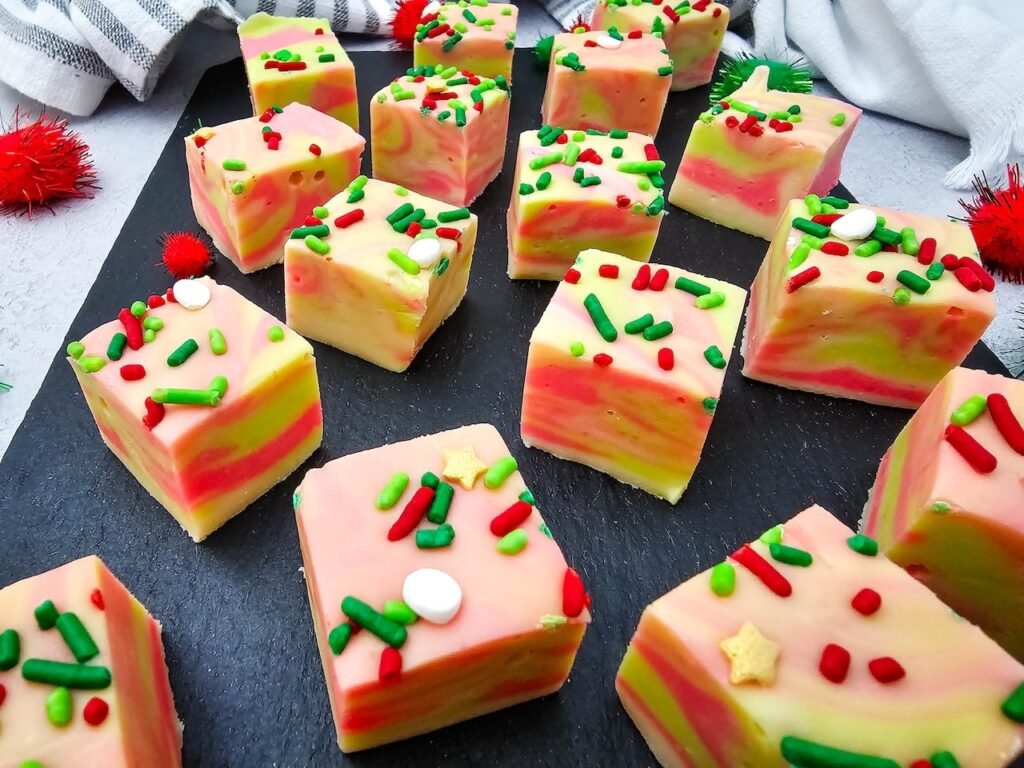
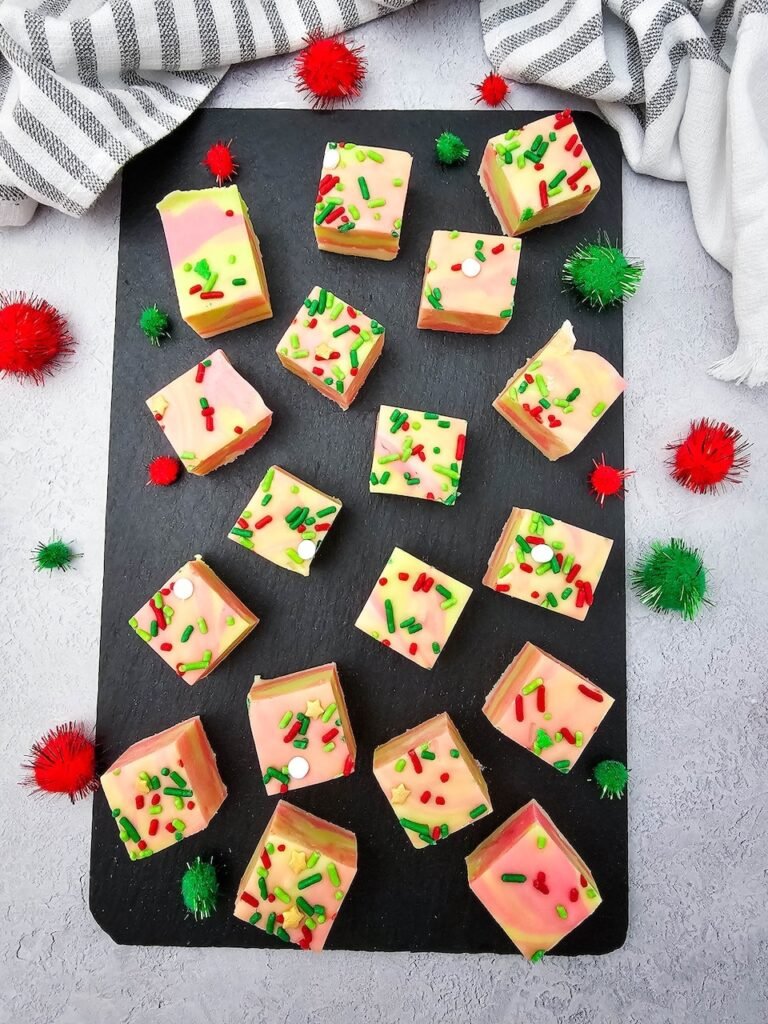
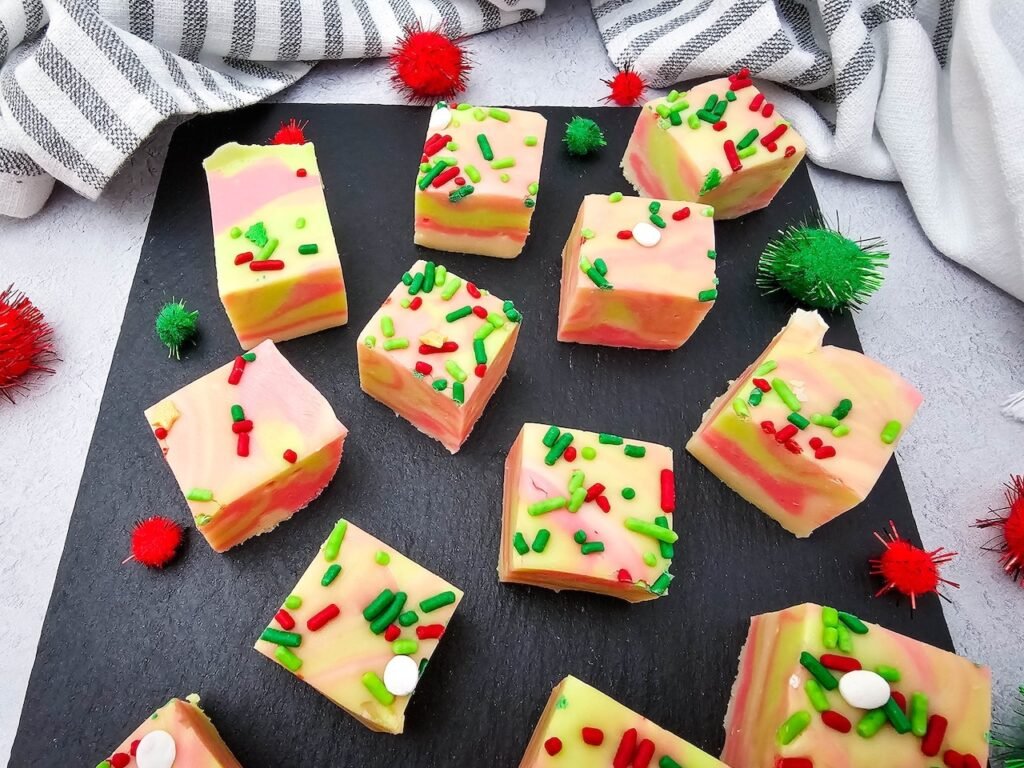
Christmas fudge doesn’t get much simpler—or more festive—than this recipe! Made with creamy white chocolate and cheerful red and green swirls, it’s a fun addition to any holiday dessert spread. It comes together quickly in the microwave, making it an easy treat for homemade gifts or sharing at your next Christmas celebration.
Rich, colorful, and wonderfully easy to make, this fudge is sure to earn a spot alongside your favorite Christmas recipes and become a holiday tradition the whole family looks forward to each year.
I started making this fudge every December with my grandmother when I was little, she never used a candy thermometer, just patience and a wooden spoon. Over the years, I’ve perfected her recipe into this foolproof version that’s rich, creamy, and full of holiday nostalgia.
Whether you’re whipping up a batch for your family or filling tins to share, this Christmas fudge recipe is pure holiday magic in less than 20 minutes.
Why You’ll Love This Christmas Fudge
- Quick & foolproof: From start to finish, it takes less than 20 minutes to prepare — perfect for busy holiday schedules.
- Perfectly creamy: You’ll get a smooth, melt-in-your-mouth texture every time thanks to a simple white chocolate base and the right ratio of ingredients.
- Festive & customizable: Add crushed peppermint, toasted nuts, or mini marshmallows to give it your own holiday twist.
- Gift-ready: Once it sets, cut it into bite-sized squares, wrap them in wax paper, and pack them in pretty tins or mason jars. It’s the kind of homemade gift that always gets a “Can I have the recipe?” in return.
Ingredients for the Best Christmas Fudge
(Keep scrolling to the recipe card below for the full printable recipe!)
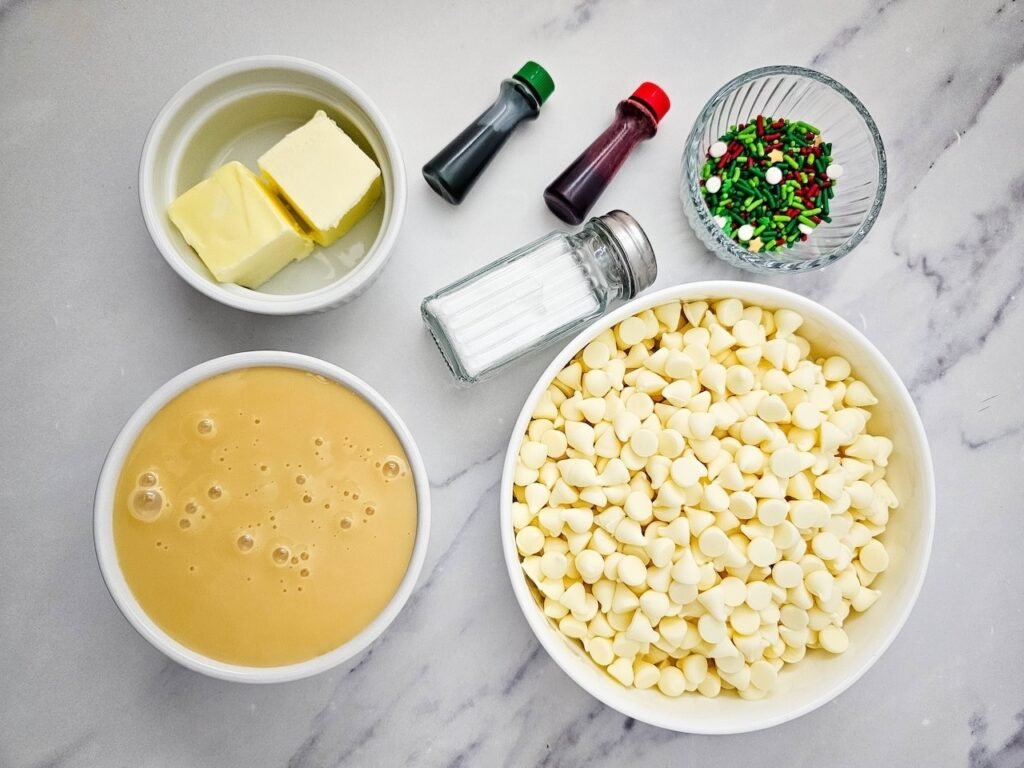
- White chocolate chips: The key to a smooth, creamy base. Use a good-quality brand that melts easily — cheaper chocolate can seize or turn grainy.
- Sweetened condensed milk: Adds sweetness and gives the fudge its perfectly soft, creamy texture. (Don’t substitute evaporated milk — it won’t set the same.)
- Butter: Adds richness and helps balance the sweetness of the white chocolate.
- Salt: Just a pinch brings out the vanilla and chocolate flavors — don’t skip it!
- Red and green gel food coloring: For that cheerful holiday swirl. Gel colors mix smoothly without thinning the chocolate.
- Optional add-ins: Crushed peppermint, chopped nuts, or marshmallows for a festive twist.
How to Make White Chocolate Fudge
1. Line an 8×8-inch baking dish with parchment paper, leaving an inch or two of overhang on the sides.
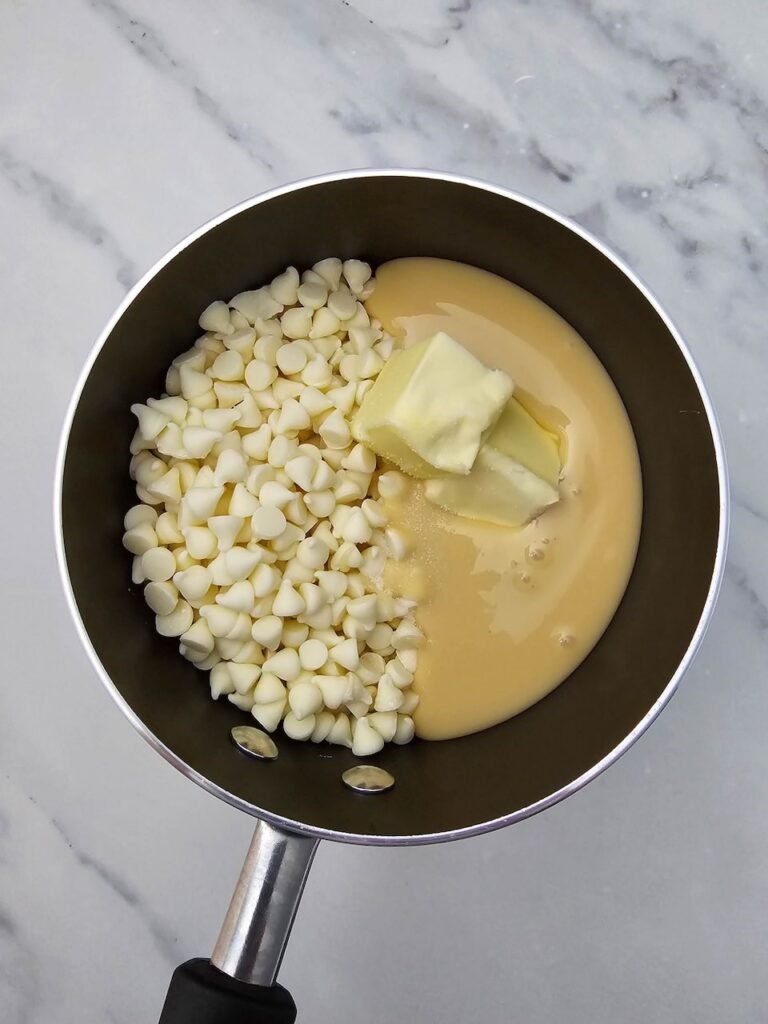
2. In a medium, heavy-bottomed saucepan, combine white chocolate chips, sweetened condensed milk, butter, and a pinch of salt. Warm over low heat, stirring gently and constantly, until the mixture is smooth and glossy.
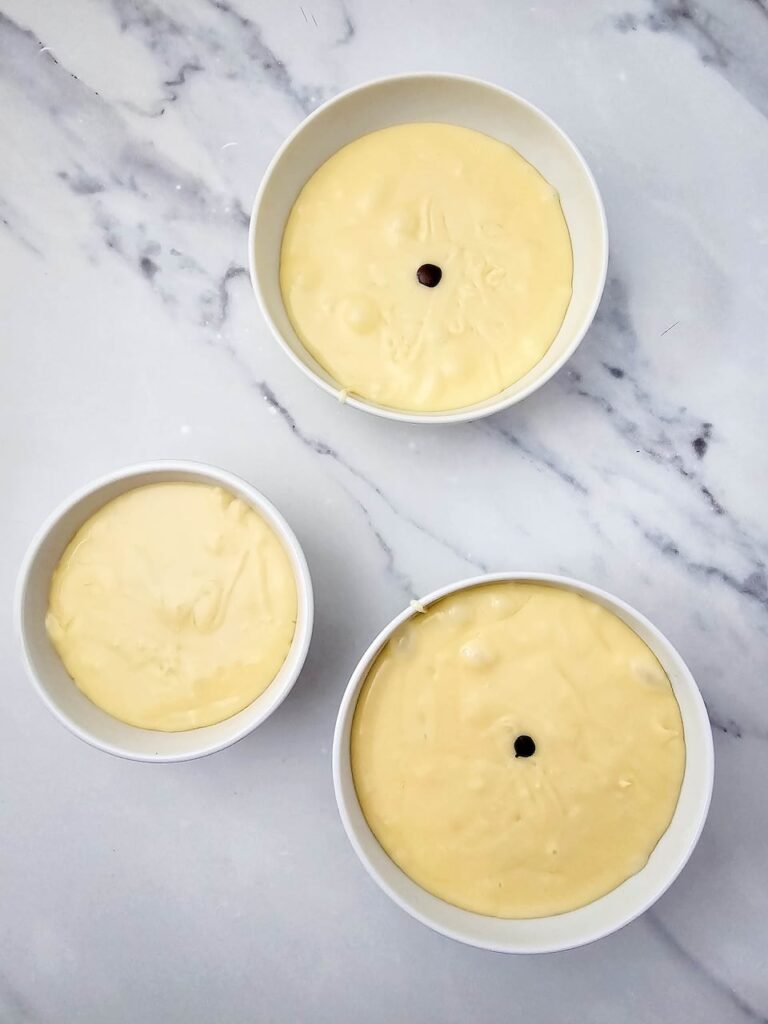
3. Divide the melted fudge evenly between three bowls. Tint one bowl red and another green, leaving the third white. Stir gently until the color is even and bright.
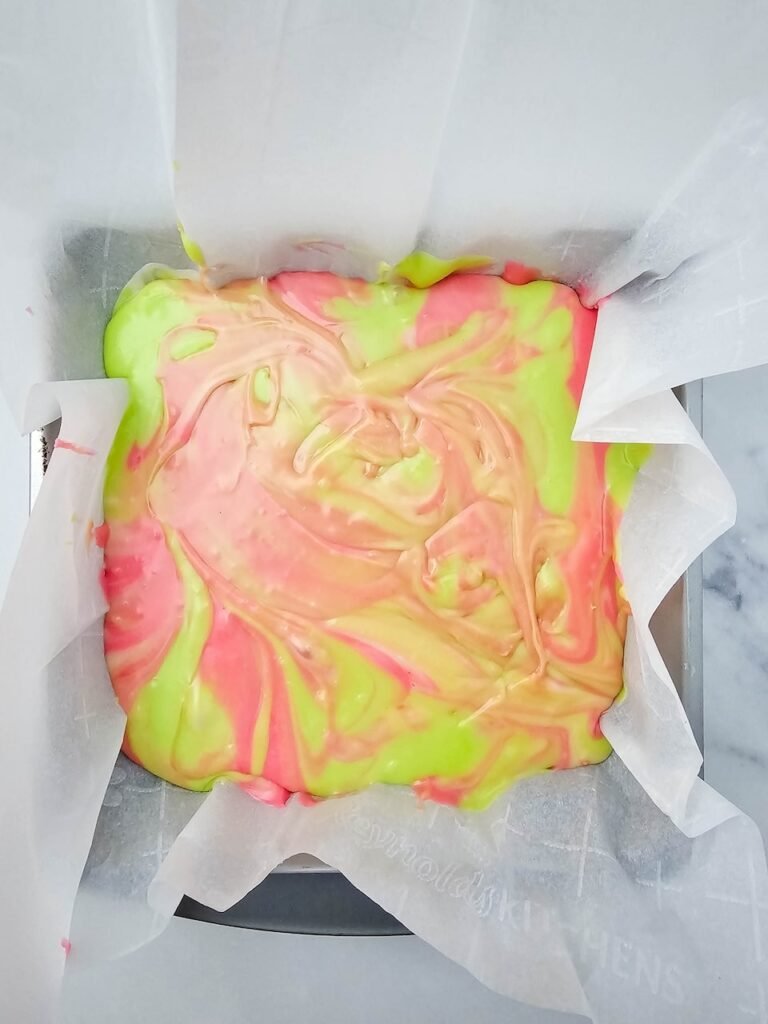
4. Drop spoonfuls of each color into your prepared pan — red, green, white, and repeat. Use a toothpick or knife to gently swirl the colors together. Stop as soon as you see a pretty marbled pattern (over-mixing will dull the colors).
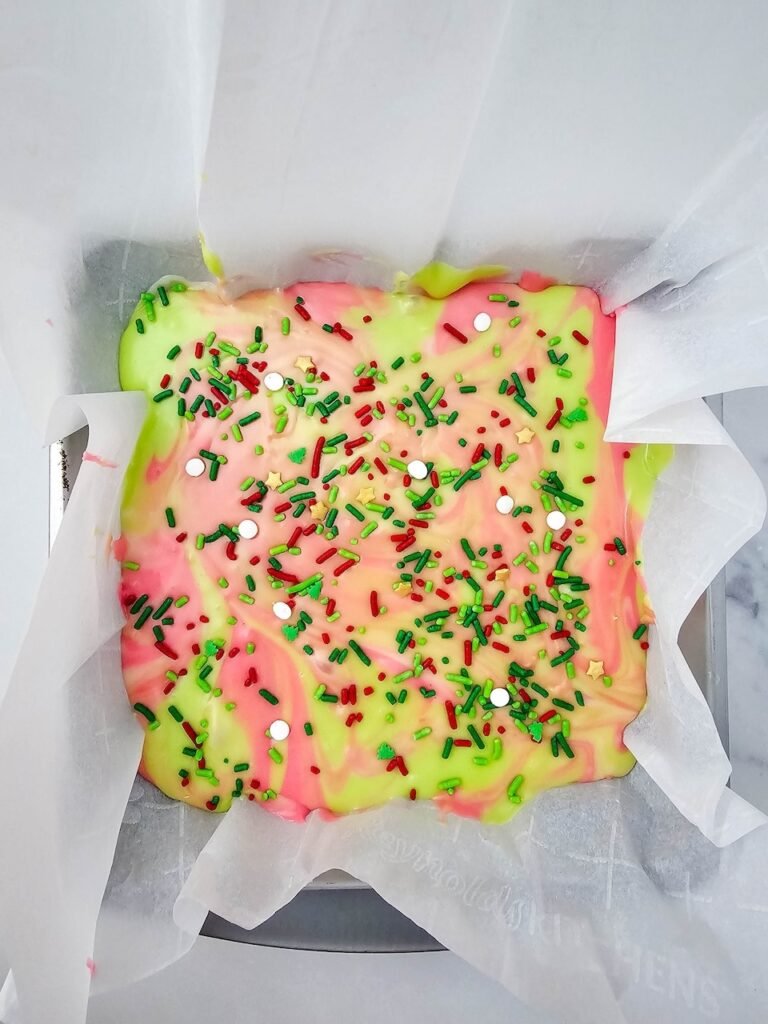
5. Sprinkle holiday sprinkles or crushed peppermint evenly over the top for a festive finish and light crunch.
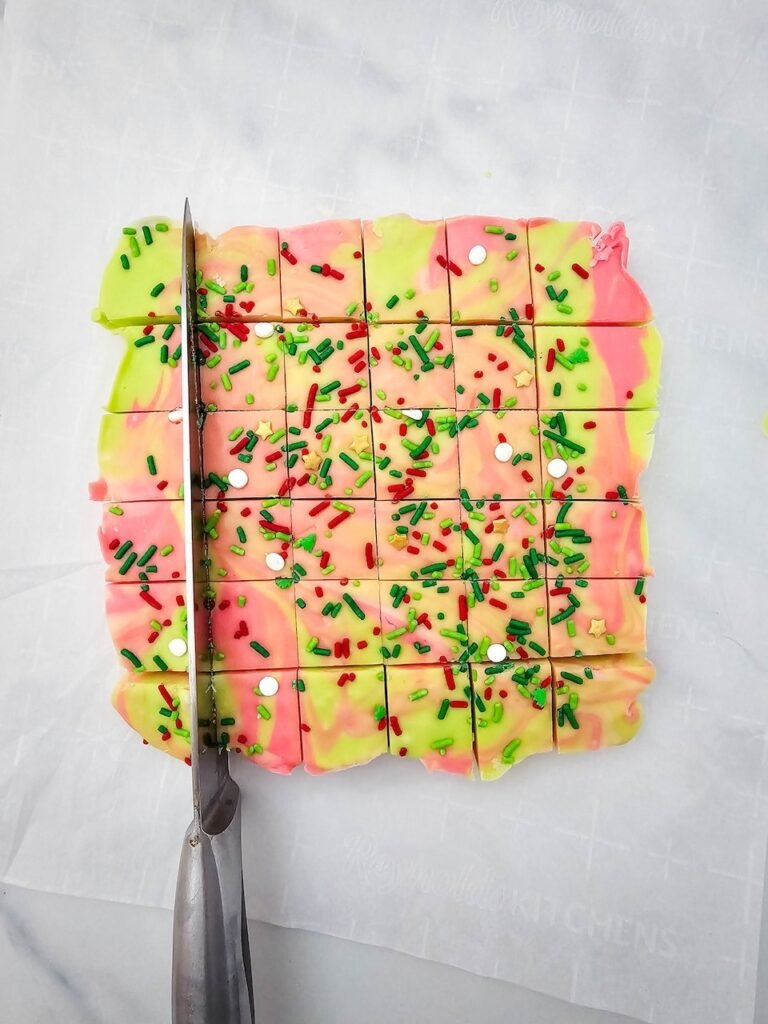
6. Refrigerate for 3–4 hours, or until the fudge feels firm to the touch. Lift it out using the parchment paper, slice into 1–2-inch squares with a sharp knife, and enjoy!
Tips for Perfect Christmas Fudge
How to Store, Gift & Freeze Fudge
- Room temperature: Up to 7 days in airtight container.
- Refrigerator: Up to 3 weeks (best for gifting ahead).
- Freezer: Up to 2 months; thaw overnight.
💡 Gifting tip: Cut fudge into bite-size squares, wrap in wax paper, and place in decorative tins or mason jars with ribbon.
Looking for more edible gift ideas?
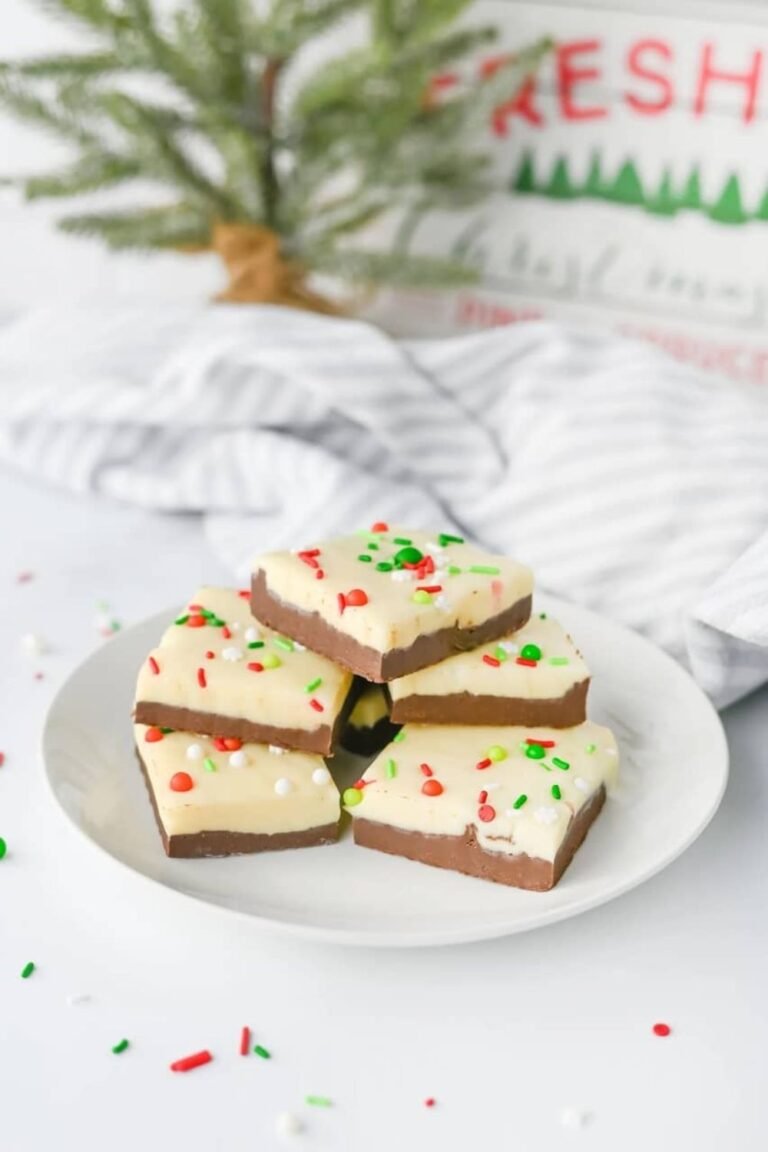
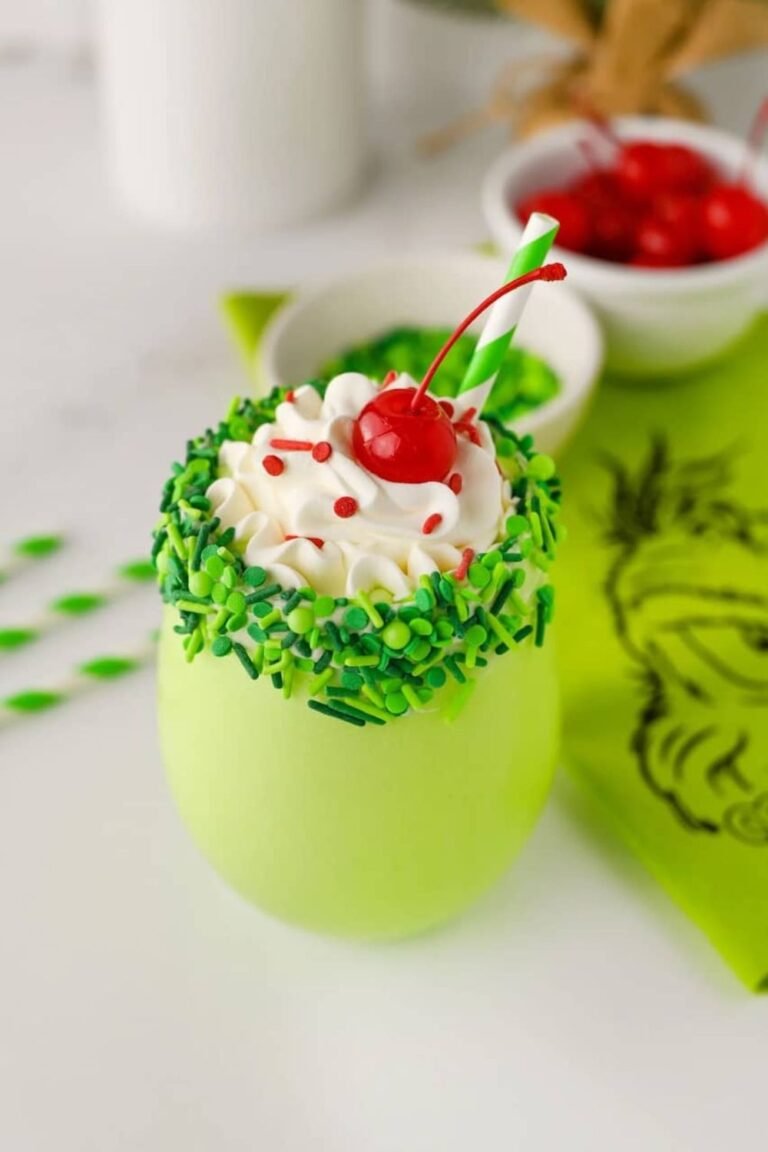
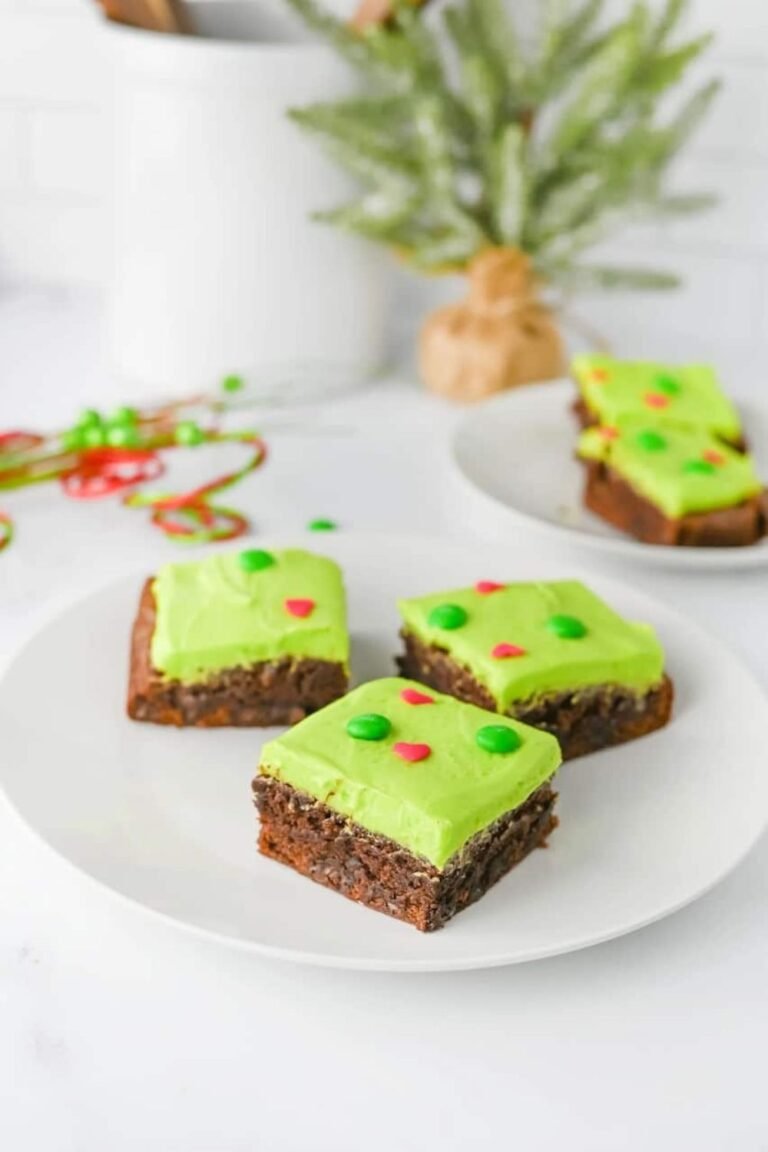
👉 Try my Candy Cane Fudge, Santa Hat Brownies, Christmas Light Cupcakes, Layered Christmas Chocolate Fudge, or Christmas Sugar Cookies.

Christmas Fudge
This easy Christmas fudge recipe is creamy, colorful, and perfect for holiday gifting. Made with white chocolate and festive swirls, it takes just 20 minutes to prepare — no candy thermometer required!
- Total Time20 minutes
- Yield25–36 1x
Ingredients
- 3 cups white chocolate chips
- 14 oz can sweetened condensed milk
- 4 tbsp unsalted butter
- Pinch of salt
- Red and green food coloring
- 1–2 tbsp holiday sprinkles
Optional Add-ins:
- Crushed candy canes
- Chopped nuts (walnuts, pecans, or almonds)
- Mini marshmallows
- Dried cranberries or pistachios
Instructions
- Prepare the pan: Line an 8×8-inch baking pan with parchment paper, leaving a little overhang on the sides so you can easily lift the fudge out once it’s set.
- Melt the base: In a medium, heavy-bottomed saucepan, combine the white chocolate chips, sweetened condensed milk, butter, and a pinch of salt. Melt over low heat, stirring gently and constantly, until the mixture is smooth and glossy.
- Add color: Divide the melted mixture evenly among three small bowls. Tint one bowl red, one bowl green, and leave the third white. Stir gently until the color is evenly blended.
- Create the swirl: Drop spoonfuls of each color into the prepared pan, alternating red, green, and white. Use a toothpick or knife to gently swirl the colors together for a marbled look. Don’t overmix or the colors may blend into brown.
- Add toppings (optional): Sprinkle holiday sprinkles, crushed peppermint, or your favorite toppings evenly over the surface for a festive finish.
- Chill to set: Place the pan in the refrigerator and chill for 3 to 4 hours, or until the fudge feels firm to the touch.
- Cut and serve: Lift the fudge out of the pan using the parchment paper. Cut into 1- to 2-inch squares using a sharp knife. For the cleanest cuts, warm your knife under hot water and wipe it dry between slices.
- Store or gift: Keep the fudge in an airtight container at room temperature for up to 1 week, refrigerate for up to 3 weeks, or freeze for up to 2 months. Wrap pieces in wax paper and pack them into decorative tins or jars for easy holiday gifting.
Nutrition
- Serving Size: 1
- Calories: 165 kcal
- Sugar: 20 g
- Sodium: 35 mg
- Fat: 8 g
- Saturated Fat: 5 g
- Carbohydrates: 22 g
- Fiber: 0 g
- Protein: 2 g
- Cholesterol: 10 mg
If you try it, leave a comment below and tag your photos on Pinterest so I can see your festive creations!

Made this with my kids this afternoon and they loved helping. We had to stop them from tasting it before it set.
That’s adorable 😂 I love that they had fun helping — and sneaking tastes! So glad you enjoyed it.
I’m putting together Christmas cookie tins and this was perfect to add in. I’ll definitely be making it again.
That’s such a great idea, I love adding fudge to cookie tins! So happy it was a hit, and I’m glad it earned a repeat spot
I pinned this a while ago and finally tried it today. Should’ve made a double batch because it didn’t last long.
That’s the ultimate compliment 😄 I’m so glad you finally made it, and next time, definitely go for the double batch!
I haven’t made this yet, but it’s on my list for Christmas week. It looks easy enough that I think I can pull it off.
That’s exactly why I love this one — super doable, even during the Christmas rush. I hope it turns out great for you when you make it!
Saving this to make closer to Christmas. I like that it doesn’t look complicated.
That’s a great plan — it’s perfect for the busy Christmas stretch. Hope you love it when you make it!