Biscoff cheesecake (No-Bake Recipe)
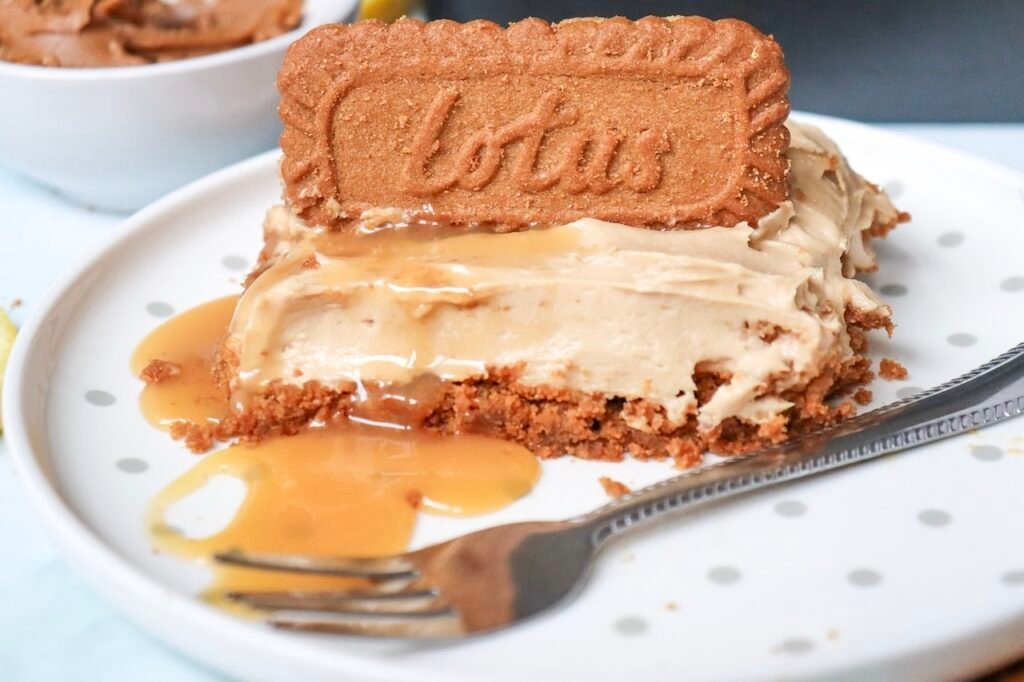
This no-bake Biscoff cheesecake is the ultimate dessert for cookie butter lovers. Made with a buttery Biscoff cookie crust, a rich and creamy cheesecake filling, and a smooth layer of melted Biscoff spread on top, it’s packed with that irresistible caramelized flavor in every bite. Best of all, there’s no oven required, making it an easy dessert for any occasion.
After testing several versions of this recipe, I found that using full-fat cream cheese and freshly whipped cream creates the perfect balance of richness and stability. The cheesecake sets beautifully in the refrigerator, slices cleanly, and delivers the silky texture you’d expect from a bakery-quality dessert without any complicated techniques.
Whether you’re making it for a holiday gathering, birthday celebration, or simply because you’re craving a Biscoff treat, this easy no-bake cheesecake is always a crowd-pleaser. It’s make-ahead friendly, beginner-friendly, and guaranteed to disappear quickly whenever it’s served.
Why You’ll Love This No-Bake Biscoff Cheesecake
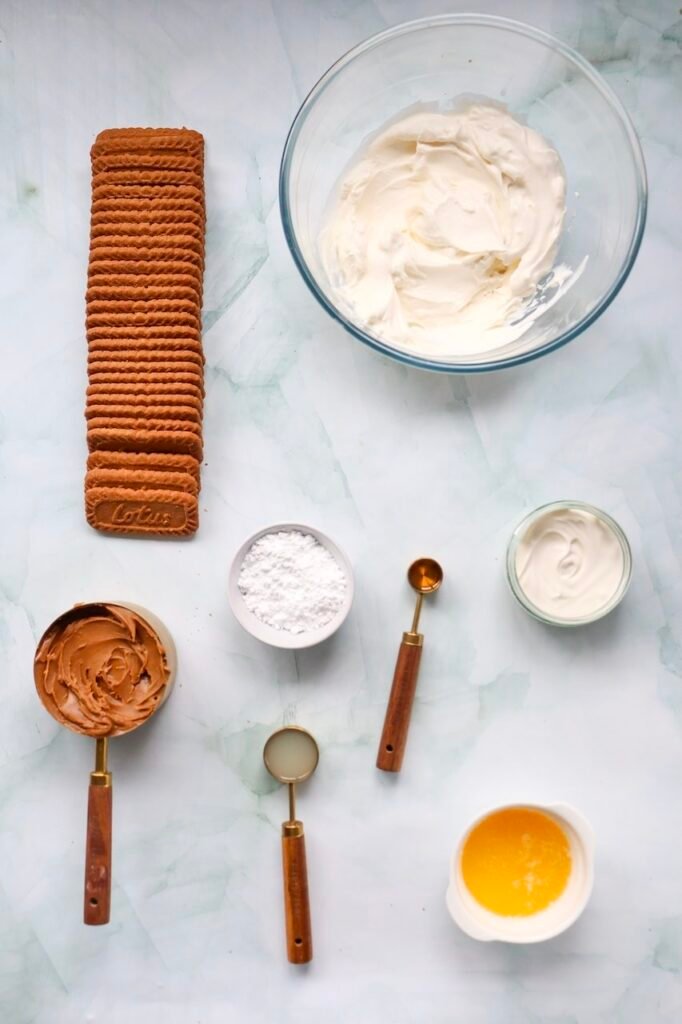
Ingredients You’ll Need
- Biscoff cookies – These crushed cookies create the buttery, flavorful base of the cheesecake.
- Melted butter – Helps bind the cookie crumbs together so the crust holds its shape when sliced.
- Biscoff spread – The star ingredient that gives the cheesecake its rich cookie butter flavor and creamy texture.
- Cream cheese – Provides the classic tangy cheesecake flavor and creates a smooth, rich filling.
- Icing sugar – Sweetens the filling while dissolving easily for a silky texture.
- Vanilla extract – Enhances the warm caramel and spice notes of the Biscoff spread.
- Cold whipping cream – Whipped into the filling to create a light, airy texture while helping the cheesecake set properly without baking.
- Reserved Biscoff cookies – Crushed or whole cookies add a beautiful finishing touch and extra crunch.
- Extra melted Biscoff spread (optional) – Drizzle over the top before serving for even more cookie butter flavor and a bakery-style presentation.
How to Make No-Bake Biscoff Cheesecake
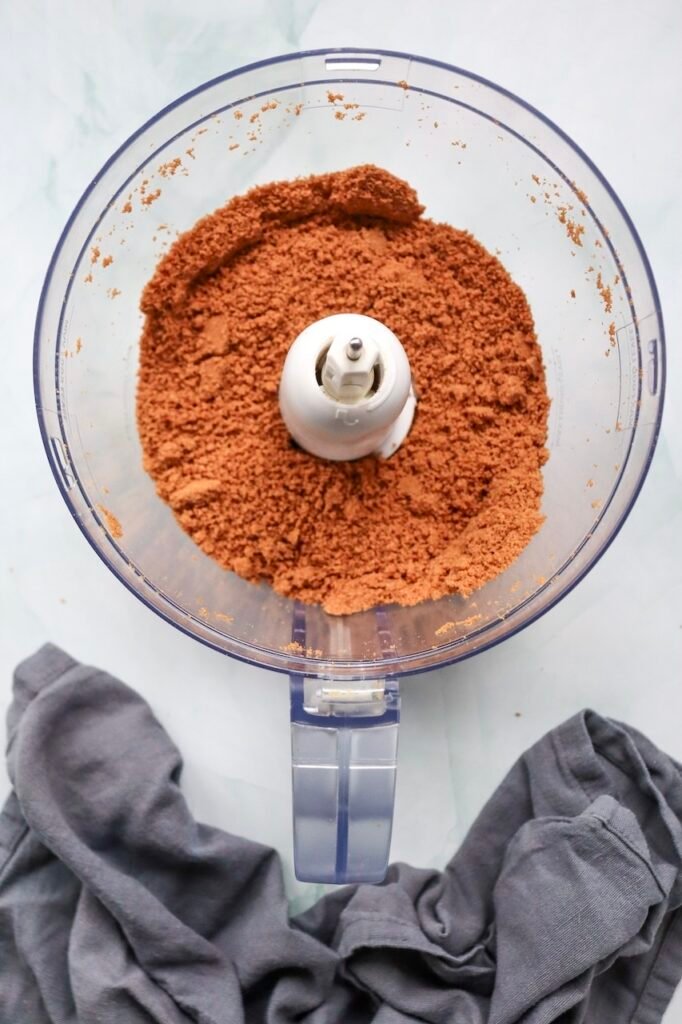
Step 1: Prepare the Crust. Crush the Biscoff cookies into fine crumbs, reserving about 4 cookies for garnish. Mix the crumbs with the melted butter until combined.
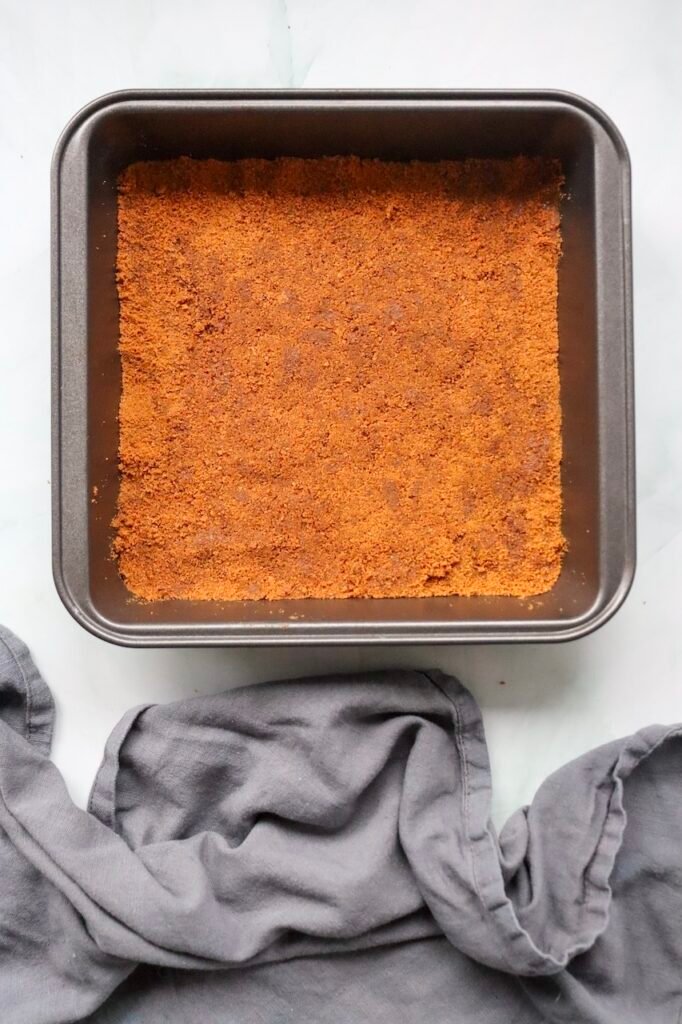
Press the mixture firmly into a parchment-lined or lightly greased small square pan. Use the back of a spoon or the bottom of a glass to create an even layer.
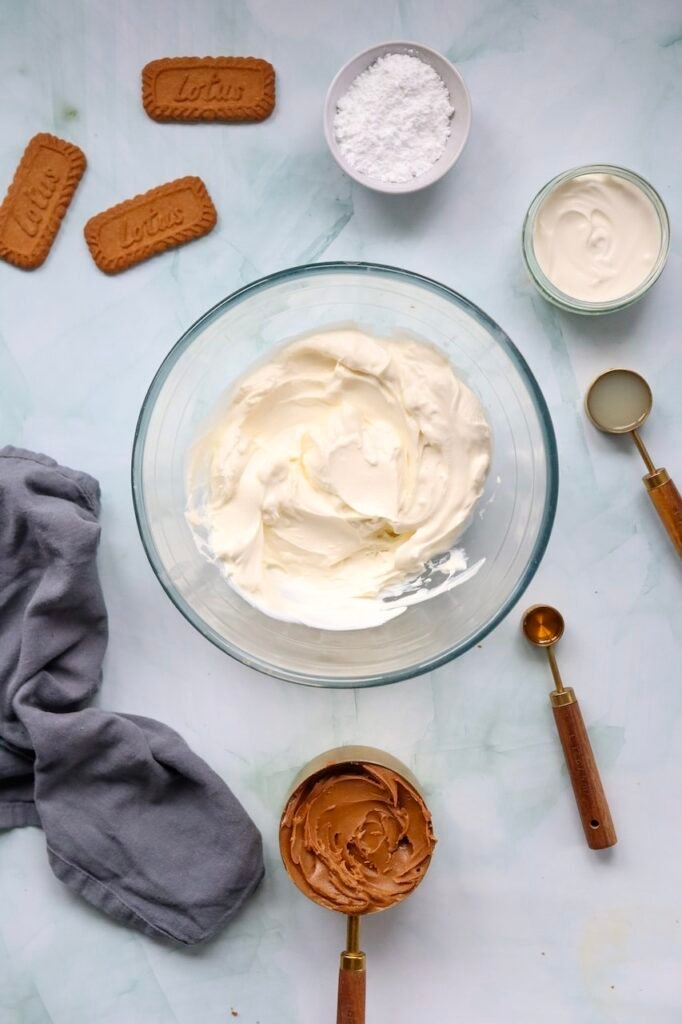
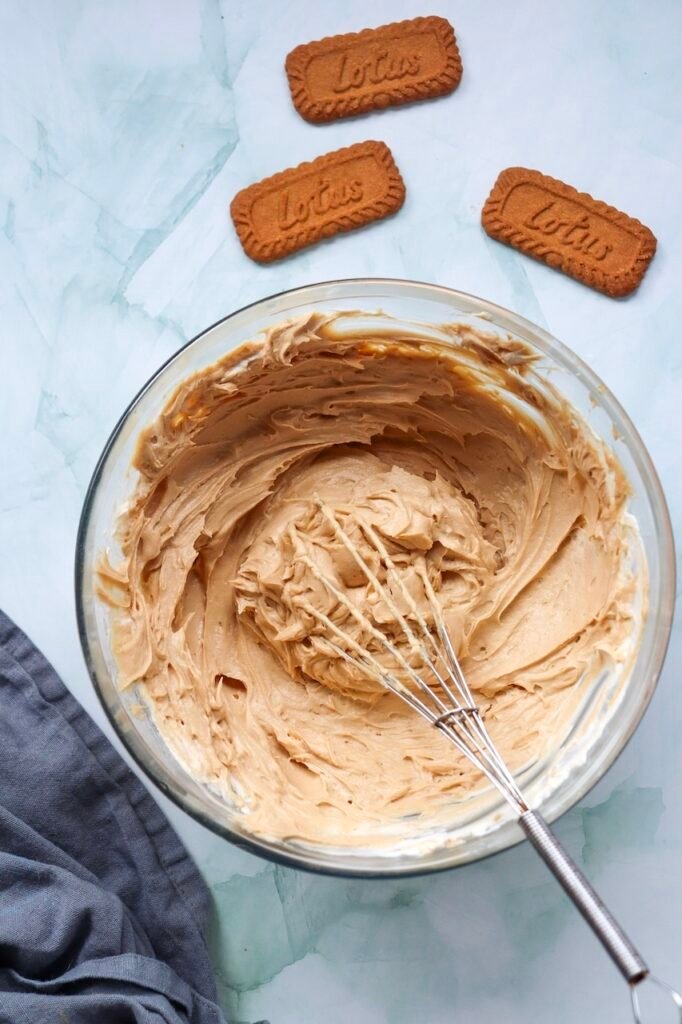
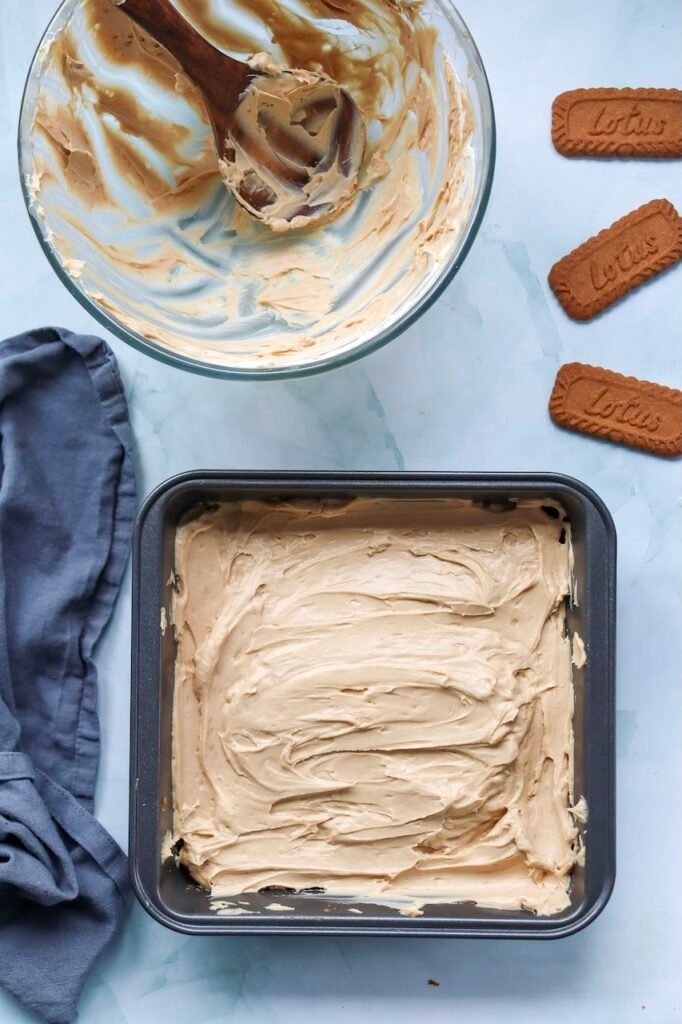
Step 2: Make the Filling. Beat the cream cheese, icing sugar, and vanilla extract until smooth and creamy. Add the Biscoff spread and mix until combined.
In a separate bowl, whip the cold whipping cream to stiff peaks. Gently fold it into the cheesecake mixture until no streaks remain.
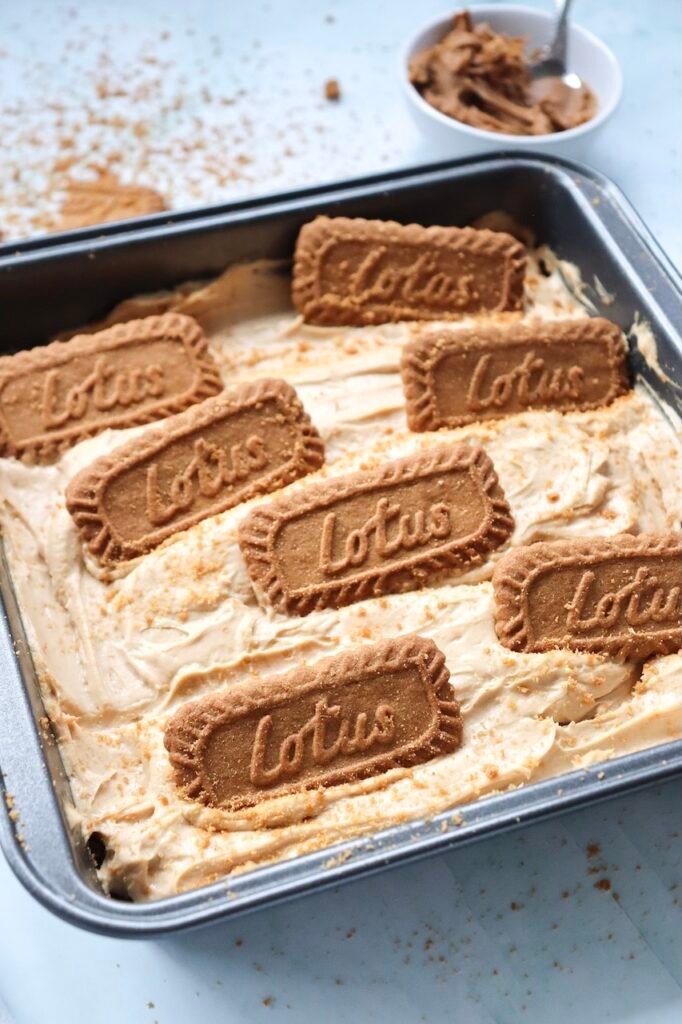
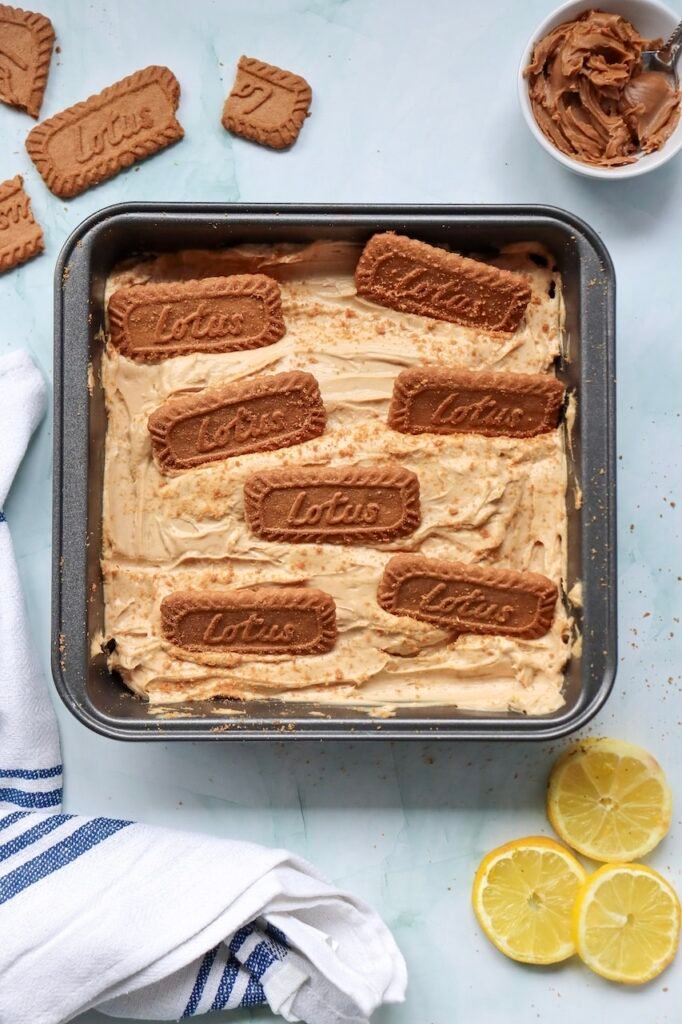
Step 3: Assemble. Spread the filling evenly over the prepared crust and smooth the top with a spatula. Garnish with the reserved Biscoff cookies and a sprinkle of extra cookie crumbs, if desired.
Step 4: Chill. Refrigerate for at least 4 hours, or until set. For the best texture and flavor, chill overnight.
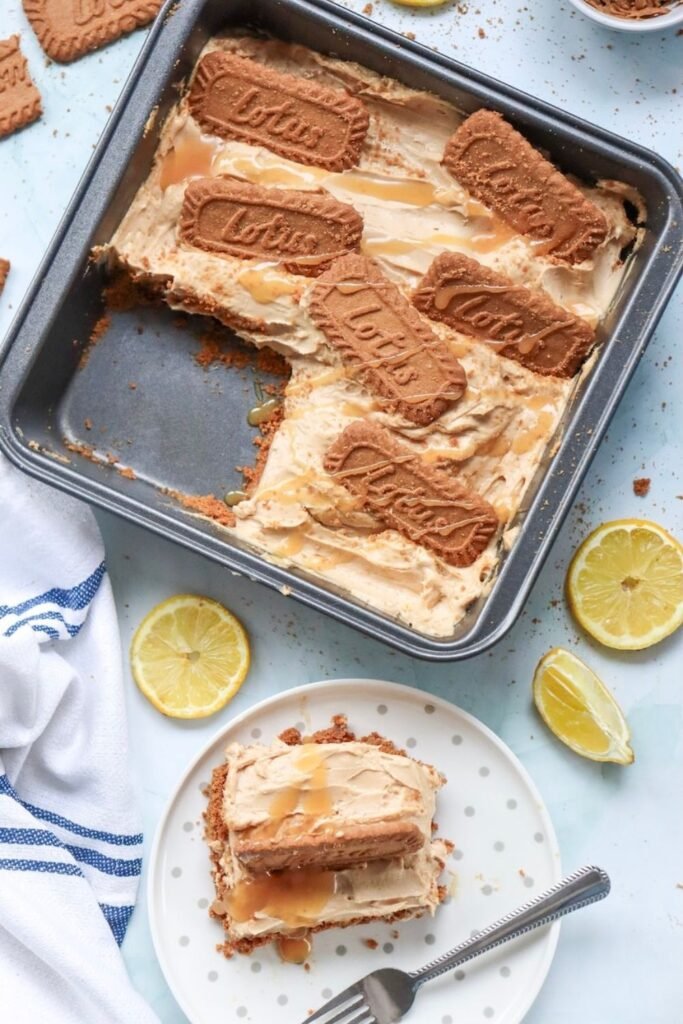
Step 5: Serve. Slice into 6 to 8 squares and serve chilled. Drizzle with melted Biscoff spread or sprinkle with extra cookie crumbs before serving, if desired.
Make Ahead, Storage & Freezing
- Make ahead: This no-bake Biscoff cheesecake is the perfect make-ahead dessert. For the best flavor and texture, prepare it a day in advance and chill overnight.
- Refrigerate properly: Store the cheesecake covered in the refrigerator until ready to serve to keep it fresh and prevent it from drying out.
- Enjoy within 4 days: Leftover cheesecake can be stored in the refrigerator for up to 4 days, although it’s best enjoyed within the first few days.
- Freeze for longer storage: Once fully set, wrap the cheesecake or individual slices tightly and freeze for up to 2 months.
- Thaw before serving: Transfer frozen cheesecake to the refrigerator and thaw overnight before serving. Add any extra Biscoff drizzle or cookie crumbs just before serving for the best presentation.
Tips for the Best Biscoff Cheesecake
Lotus Biscoff cheesecake FAQs

Biscoff cheesecake
This easy no-bake Biscoff cheesecake features a buttery Biscoff cookie crust and a creamy cookie butter filling made with cream cheese and whipped cream. It’s rich, smooth, and perfect for holidays, parties, or whenever you’re craving a simple Biscoff dessert.
- Total Time4 hours 20 minutes
- Yield6 1x
- DietVegetarian
Ingredients
- 7 ounces Biscoff cookies, crushed (reserve 4 cookies for garnish)
- 5 tablespoons melted butter
- 8 ounces (1 cup) cream cheese, softened
- 2 tablespoons icing sugar
- 1 teaspoon vanilla extract
- 1 cup Biscoff spread
- 1/2 cup cold whipping cream
Instructions
- Crush the Biscoff cookies into fine crumbs, reserving 4 cookies for garnish.
- Mix the cookie crumbs with the melted butter until combined.
- Press the mixture firmly into a parchment-lined or lightly greased small square pan. Chill while preparing the filling.
- In a large bowl, beat the cream cheese, icing sugar, and vanilla extract until smooth.
- Add the Biscoff spread and mix until fully combined.
- In a separate bowl, whip the cold whipping cream to stiff peaks.
- Gently fold the whipped cream into the Biscoff mixture until no streaks remain.
- Spread the filling evenly over the prepared crust and smooth the top.
- Garnish with the reserved Biscoff cookies and extra cookie crumbs, if desired.
- Refrigerate for at least 4 hours or overnight until set.
- Slice into 6 to 8 squares and serve chilled.
Notes
- Use full-fat cream cheese for the best texture and stability.
- Make sure the whipping cream is cold before whipping.
- Store covered in the refrigerator for up to 4 days.
Nutrition
- Serving Size: 1 square
- Calories: 375 kcal
- Sugar: 18 g
- Sodium: 220 mg
- Fat: 26 g
- Saturated Fat: 15 g
- Carbohydrates: 31 g
- Protein: 4 g
- Cholesterol: 55 mg
If you make this no-bake Biscoff cheesecake, I’d love to hear about it. Leave a comment below and let me know how it turned out, or share any fun variations you tried.