Christmas Sugar Cookies
There’s something magical about baking Christmas sugar cookies, the way the buttery scent fills the kitchen, the joy of cutting out festive shapes, and the memories made decorating them with family. Growing up, these cookies were always at the center of our holiday traditions, and now, they’re the first thing I bake every December.
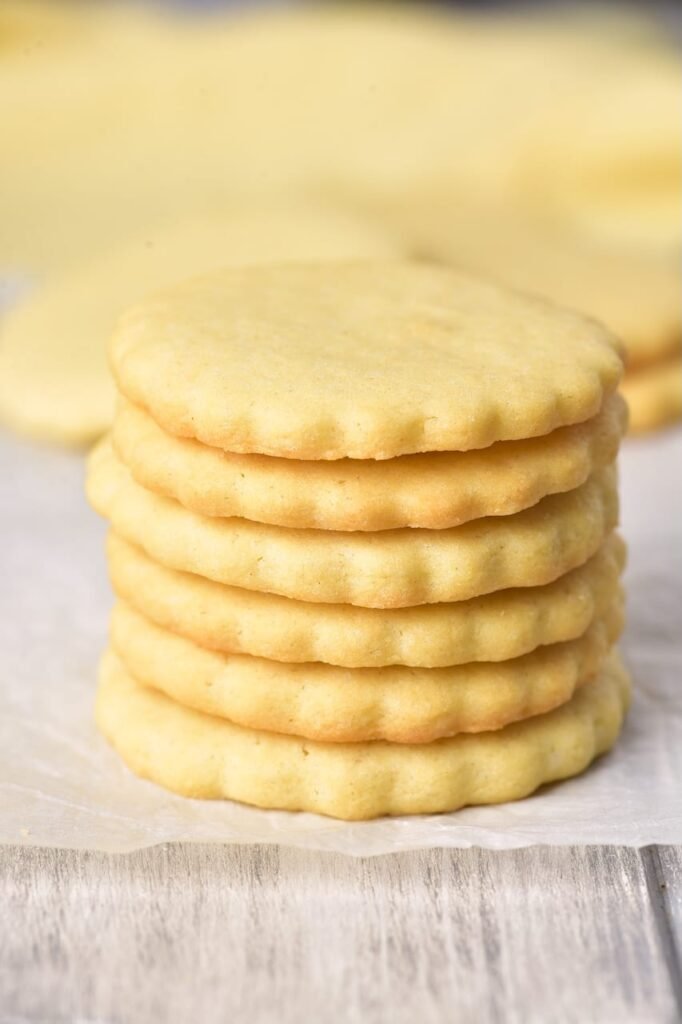
Over the years, I’ve tested dozens of sugar cookie recipes, some spread too much, others turned out dry or bland. But this one strikes the perfect balance: the dough holds its shape beautifully, even with intricate cookie cutters, and the cookies stay soft in the center with just the right amount of crispness on the edges. Unlike many recipes that need special tricks to keep from puffing up or warping, this one just works. It’s my go-to every December because I know it won’t let me down.
Ingredients You’ll Need
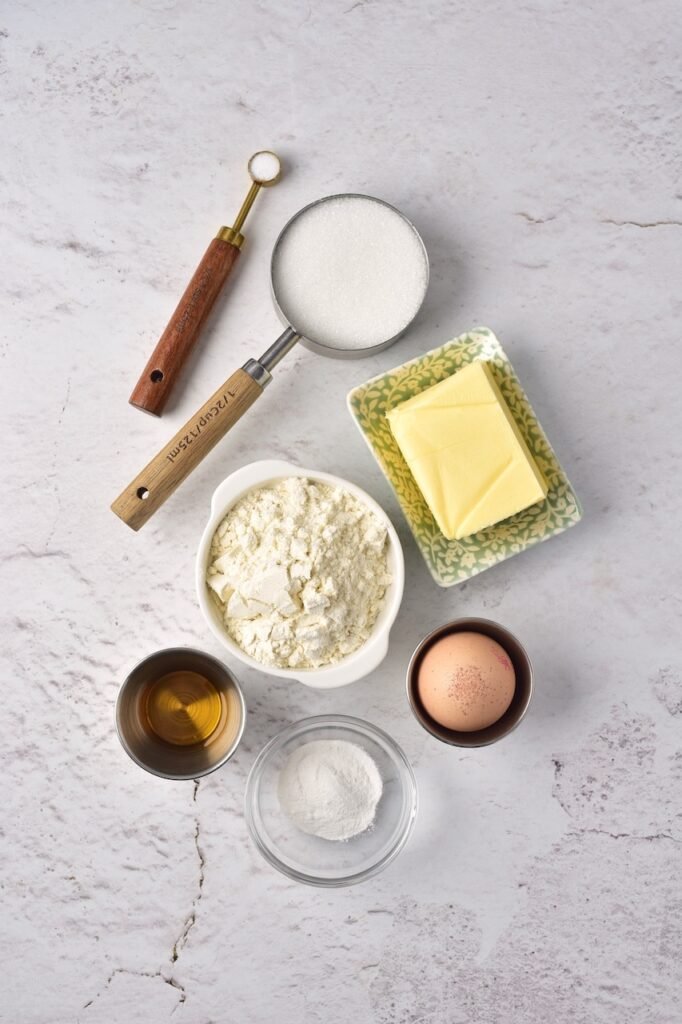
These simple pantry staples come together to make the perfect Christmas sugar cookies, soft, lightly sweet, and ideal for decorating.
- ½ cup unsalted butter, softened
- ½ cup granulated sugar
- 1 tsp vanilla extract
- 1 egg
- 1 tsp baking powder
- 1 pinch salt
- 1½ cups all-purpose flour
Substitutions & Variations
- Classic flavor: Add ½ tsp almond extract for a nostalgic bakery-style taste.
- Citrus twist: Stir in 1 tsp lemon or orange zest for bright, fresh flavor.
- Warm spice: Add ½ tsp cinnamon or nutmeg for cozy holiday cookies.
- Gluten-free: Use a 1:1 GF flour blend with xanthan gum; chill 45 min before rolling.
- Vegan-friendly: Swap butter for vegan sticks & use a flax egg (1 Tbsp flax + 2½ Tbsp water).
- Color & fun: Tint dough with gel colors or add sprinkles/mini chips before baking.
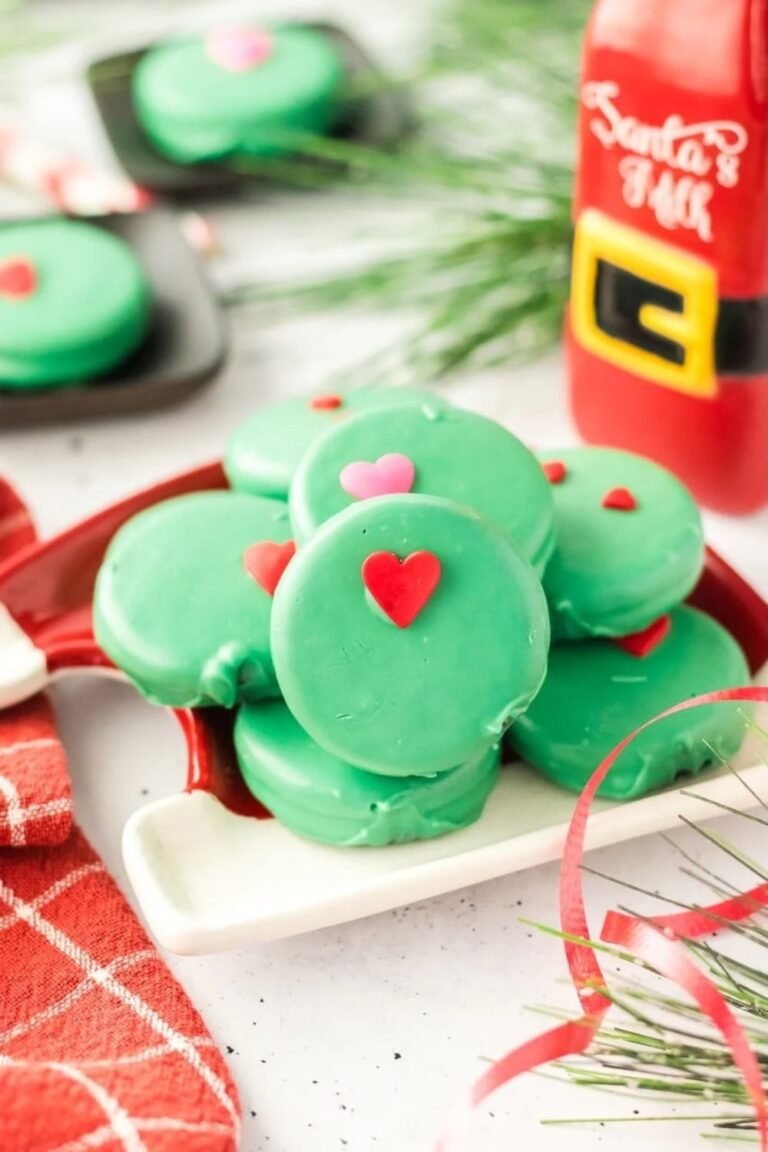
- Seasonal switch-up: Reuse this dough for Valentine hearts, Easter pastels, or Halloween marbled cookies.
Recommended Tools
(These make the process smoother and the results more professional!)
- Mixer (hand or stand): Creams butter & sugar evenly for soft, fluffy cookies.
- Rolling pin with guide rings: Ensures even ¼-inch dough — every cookie bakes the same.
- Parchment paper: Best for sharp edges and less spread.
- Silicone baking mat: Reusable and nonstick — ideal for multiple batches.
- Metal cookie cutters: Sharper edges = cleaner shapes.
- Cooling rack: Prevents soggy bottoms; stops overbaking.
- Piping bags + tips: Perfect for outlines, flooding, and detailed decorating.
💡 Tip: Roll dough between parchment sheets — no sticking, no extra flour, just perfect cookies every time.
How to Make the Best Christmas Cut-Out Cookies
You can find the full printable recipe below in the recipe card, it includes ingredient notes, icing tips, and make-ahead instructions!
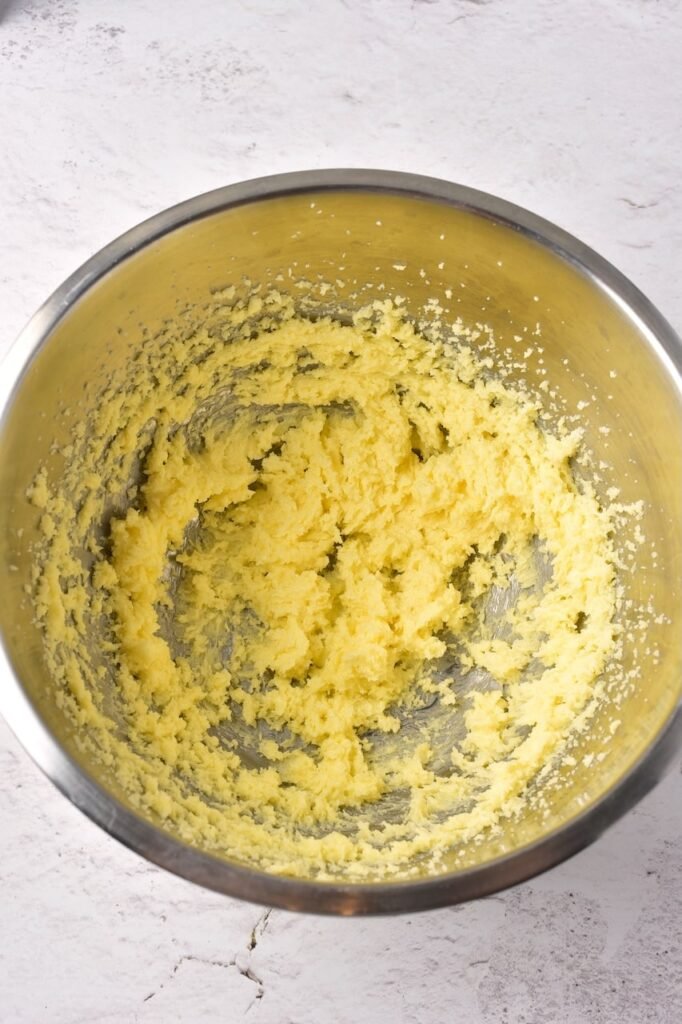
Cream the butter and sugar: In a large mixing bowl, beat ½ cup of softened unsalted butter with ½ cup of granulated sugar until the mixture is light and fluffy—this takes about 2 minutes using a hand or stand mixer.
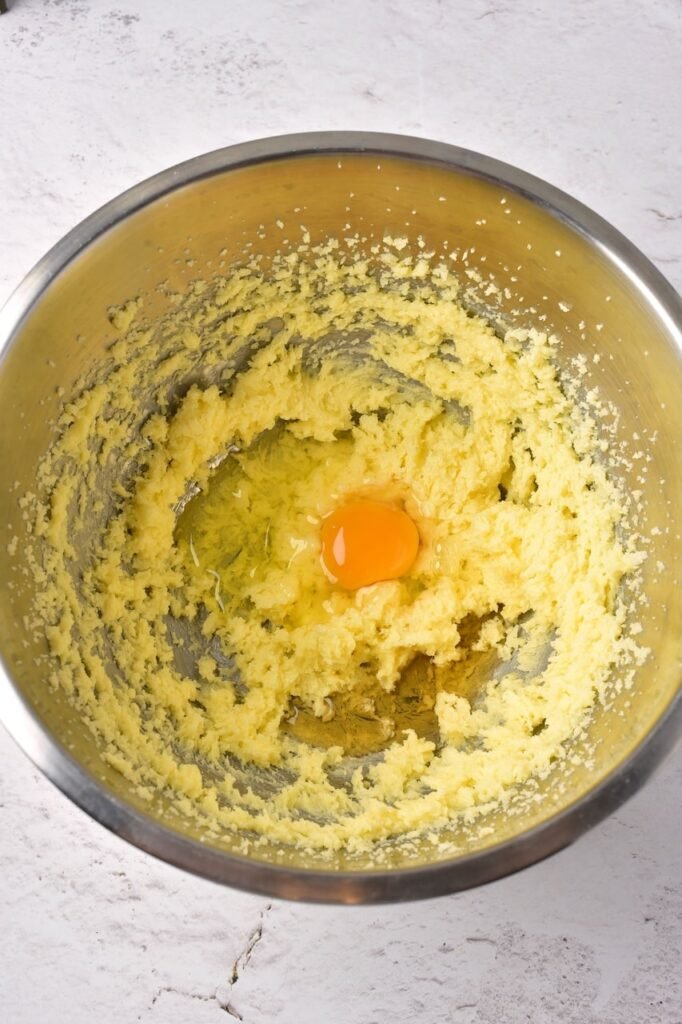
Add the egg and vanilla: Crack in 1 egg and pour in 1 teaspoon of vanilla extract. Continue beating for another 1–2 minutes until everything is fully combined and smooth.
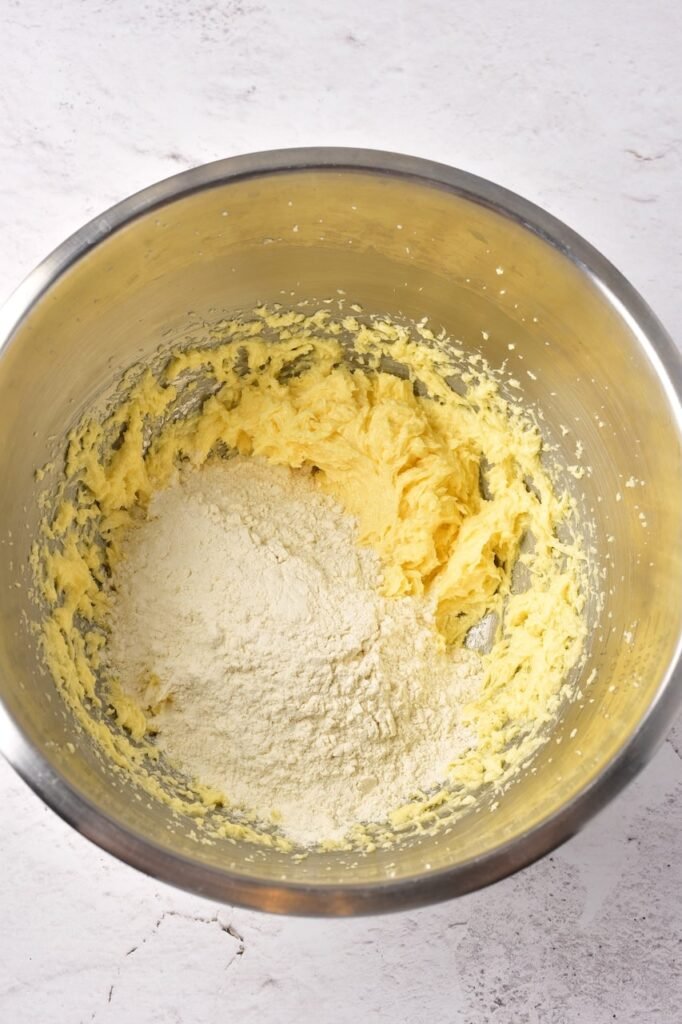
Incorporate the dry ingredients: In a separate bowl, whisk together 1½ cups of all-purpose flour, 1 teaspoon of baking powder, and a pinch of salt. Slowly add the dry mixture to the wet ingredients and mix until a soft, slightly sticky dough forms.
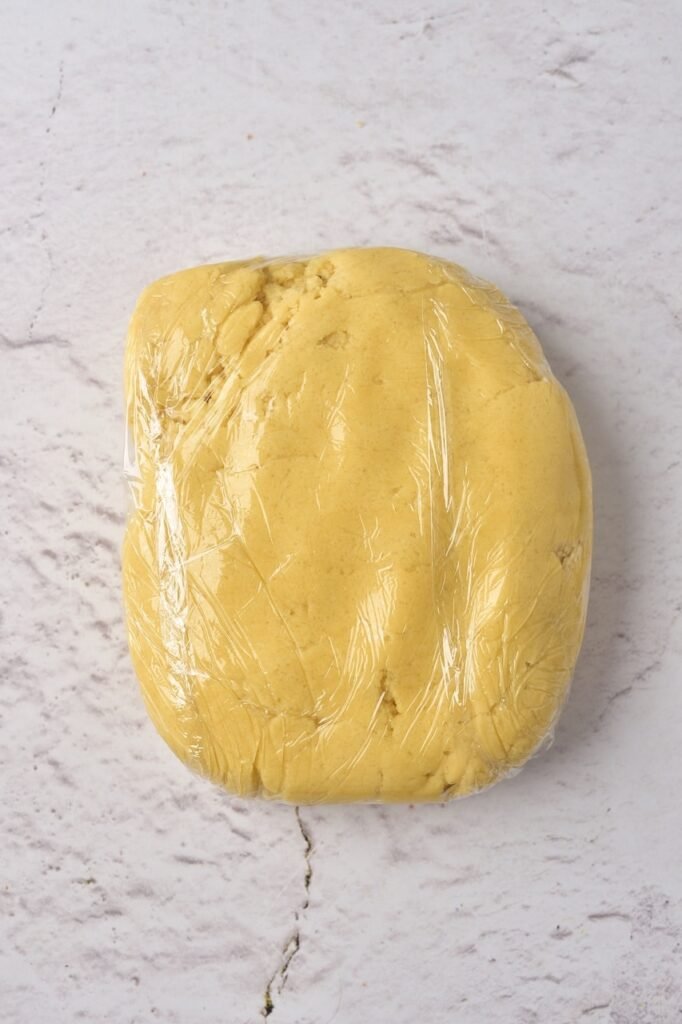
Chill the dough: Wrap the cookie dough tightly in plastic wrap and place it in the refrigerator for 30 minutes. This step makes the dough easier to roll and helps the cookies hold their shape while baking.
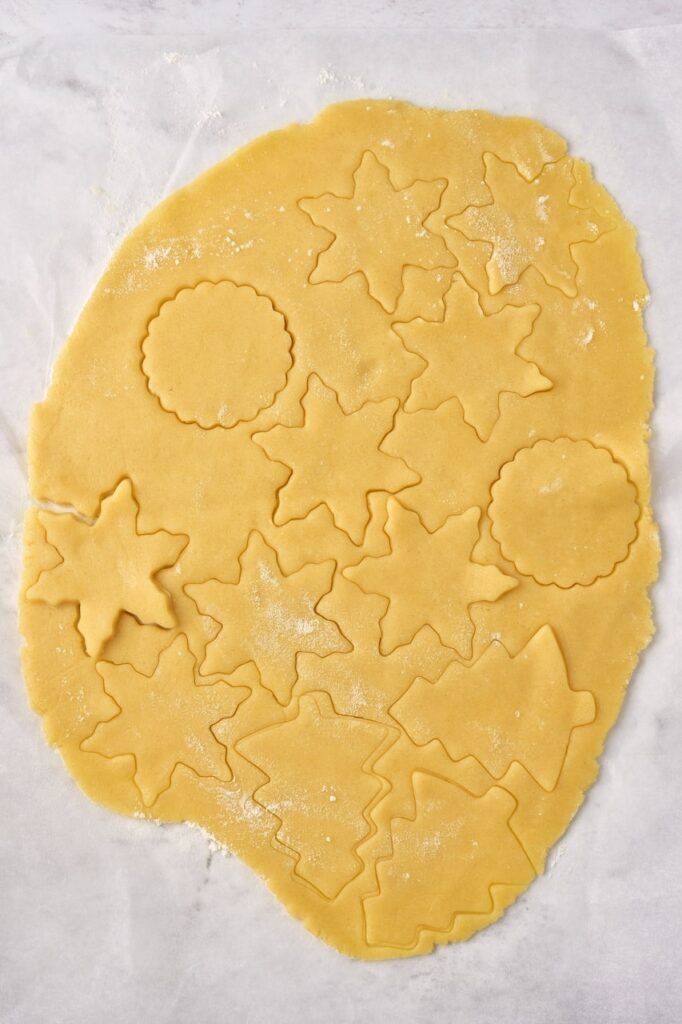
Preheat the oven and roll out the dough: While the dough chills, preheat your oven to 350°F (175°C). Once chilled, roll out the dough between two sheets of parchment paper to about 5 mm (or ⅕ inch) thick. For easier handling, divide the dough into two parts and roll them out one at a time.
Cut out the cookie shapes: Use your favorite cookie cutters or molds to cut the dough into festive shapes—trees, stars, snowflakes, or even simple rounds all work well.

Prepare the baking sheet: Line a baking sheet with parchment paper or a silicone baking mat. Carefully transfer the cookies to the sheet, spacing them about 1 inch apart.
Bake the cookies: Place the tray in the preheated oven and bake for 7–8 minutes, or until the edges are just set. The cookies should not brown too much to maintain their soft texture.
Cool the cookies: Remove the cookies from the oven and let them cool completely on a wire rack before decorating. This helps the glaze set properly and prevents melting.
Make the glaze: In a small bowl, mix 2 tablespoons of lemon juice with 6–7 tablespoons of icing sugar using a whisk. Adjust the sugar if needed until the glaze is smooth but not too runny.

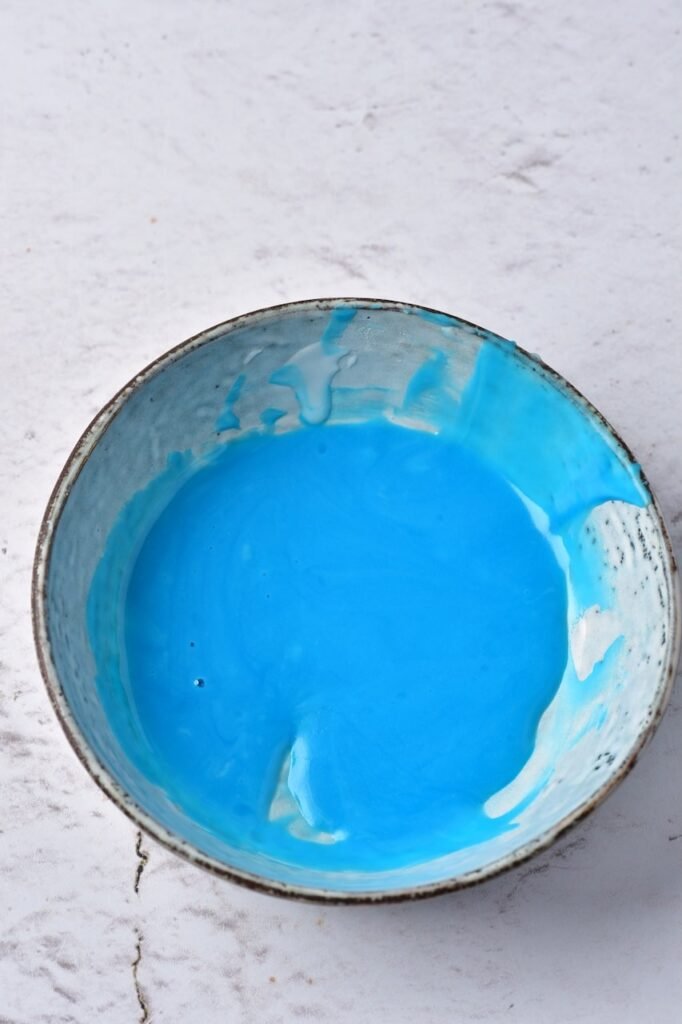
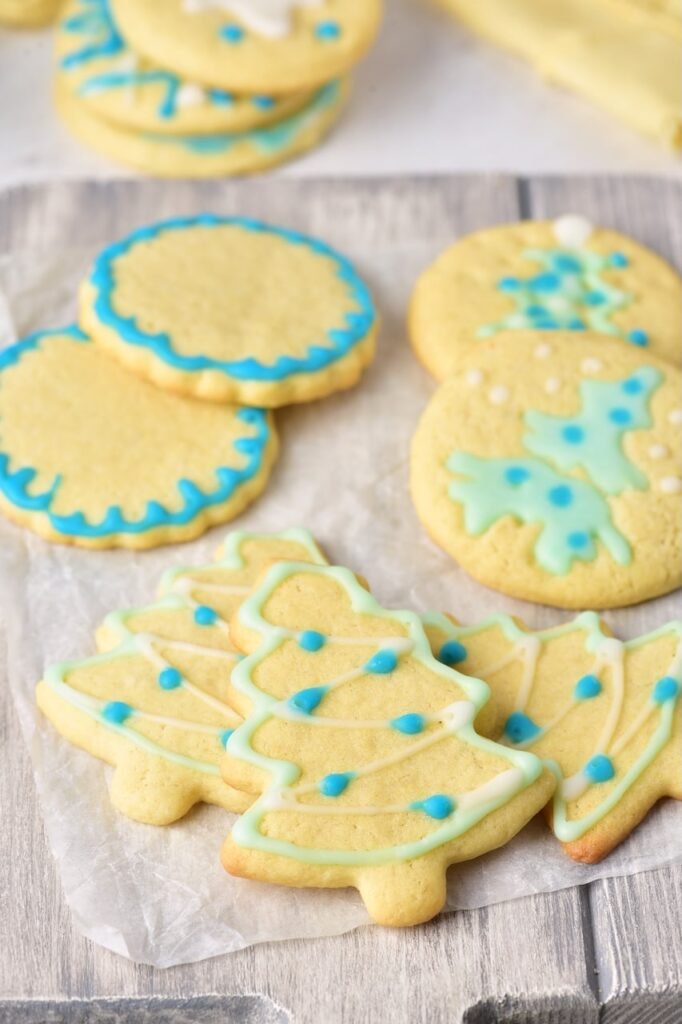
Divide and color the glaze: Split the glaze into three portions. Leave one part white, and tint the other two with a drop of green and blue food coloring, respectively.
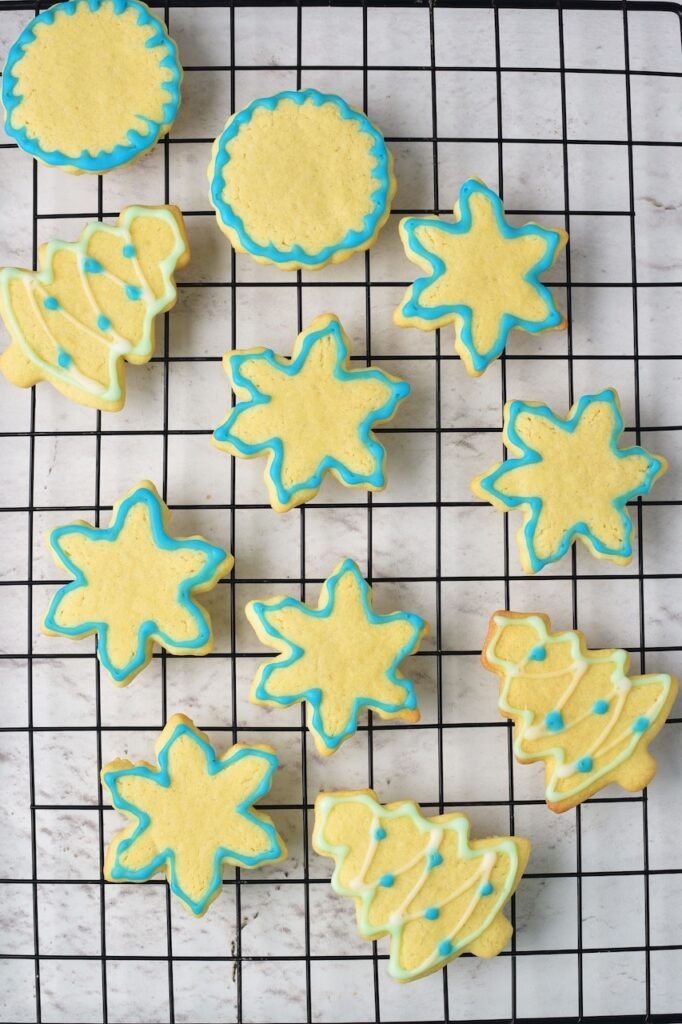
Decorate the cookies: Once the cookies are cool, decorate them using the colored glaze. Use a spoon, piping bag, or toothpick to create fun designs. Let the cookies sit for 30 to 60 minutes so the glaze can fully set.
Decorating Ideas for Iced Sugar Cookies
- Outline and fill with glaze using a spoon or piping bag for a smooth, glossy finish.
- Swirl two glaze colors together to create a marbled, watercolor effect.
- Decorate tree-shaped cookies with green glaze and white zigzag lines to mimic garlands.
- Use white glaze and silver sprinkles for a simple snowflake design.
- Add colored sugar or sprinkles while the glaze is still wet for extra sparkle and texture.
- Pipe dots, stripes, or stars using a toothpick or fine piping tip for playful holiday patterns.
- Create ornament cookies by decorating round shapes with lines, dots, and shimmer.
Storage, Freezing & Gifting
- Room temp: Store decorated cookies in an airtight container for up to 1 week, with parchment between layers.
- Freeze baked cookies: Cool completely, freeze undecorated up to 3 months; thaw in container before decorating.
- Freeze dough: Wrap tightly in plastic + freezer bag; thaw overnight in fridge before rolling and cutting.
- Bake from frozen: Add 1–2 minutes to bake time for frozen cut-outs.
- Make-ahead: Chill dough up to 2 days before baking — the flavor improves as it rests.
- Gifting: Pack in cellophane or tins lined with parchment; label with “Best by” date and include a note.
- Shipping: Choose sturdy shapes, pair back-to-back, and cushion well to prevent breakage.
Christmas Sugar Cookies FAQ
If you try this Christmas sugar cookie recipe, I’d love to hear what you think! Leave a rating or comment below and let me know how they turned out. Don’t forget to save this recipe on Pinterest so you can come back to it year after year. And if you want more holiday baking ideas straight to your inbox, sign up for my newsletter — I’ve got a special cookie bonus just for subscribers.
PrintSoft, Chewy Christmas Sugar Cookies
- Total Time: 1 hour 5 minutes
- Yield: 25 1x
Description
These soft Christmas sugar cookies are buttery, perfectly shaped, and easy to decorate. The dough holds its shape without spreading, making it perfect for holiday cut-outs. Great for cookie exchanges, decorating with kids, or festive gifting!
Ingredients
- 1/2 cup unsalted butter
- 1/2 cup sugar
- 1 tsp vanilla
- 1 egg
- 1 tsp baking powder
- 1 pinch salt
- 1 1/2 cups all-purpose flour
For the Glaze:
- 6–7 tbsp powdered sugar
- 2 tbsp lemon juice (or milk for a milder flavor)
- blue and green food coloring
Instructions
- Cream butter and sugar: In a large mixing bowl, beat softened butter and sugar until light and fluffy (about 2 minutes).
- Add egg and vanilla: Mix in egg and vanilla extract until smooth.
- Combine dry ingredients: Whisk together flour, baking powder, and salt. Gradually add to wet mixture until a soft dough forms.
- Chill: Wrap dough and chill for 30 minutes to make it easier to roll and cut.
- Preheat & roll out: Preheat oven to 350°F (175°C). Roll dough between parchment paper to ¼ inch thick.
- Cut shapes: Use cookie cutters to make festive shapes like trees, stars, and snowflakes.
- Bake: Place on parchment-lined sheet and bake 7–8 minutes, until edges are just set (not browned).
- Cool & decorate: Cool on a rack completely before icing.
- Make the glaze: Whisk powdered sugar and lemon juice until smooth. Adjust consistency if needed.
- Decorate: Tint glaze with food coloring and spread or pipe designs. Let set for 30–60 minutes.
Notes
- Use room temperature butter for a smooth, creamy dough. For dairy-free, sub with plant-based butter (like Earth Balance).
- Spoon and level the flour to avoid packing too much. For gluten-free, swap with a 1:1 GF baking flour blend.
- For softer cookies, slightly underbake them (edges should stay pale).
- Prep Time: 5 minutes
- Cook Time: 60 minutes
- Category: Holiday Treats, Snacks
- Method: Cooking
- Cuisine: American
Nutrition
- Serving Size: 1
- Calories: 95 kcal
- Sugar: 6.5 g
- Sodium: 35 mg
- Fat: 4.3 g
- Saturated Fat: 2.6 g
- Carbohydrates: 13 g
- Fiber: 0.1 g
- Protein: 1.1 g
- Cholesterol: 20 mg