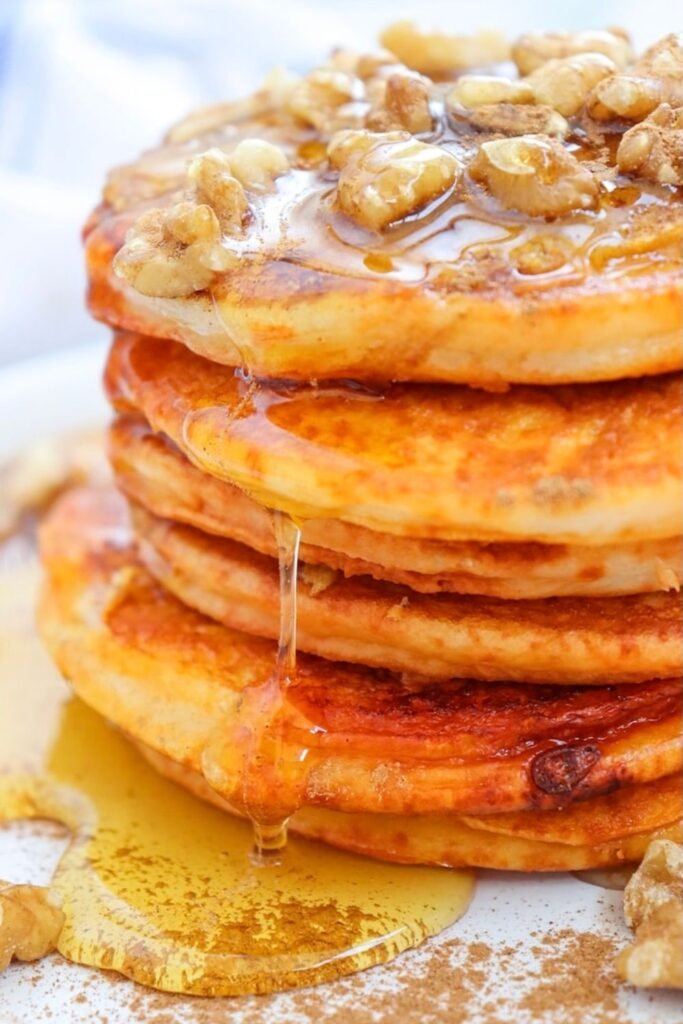
Easy Pumpkin Spice Pancakes That Turn Out Fluffy Every Time
If you’re looking for a breakfast that feels a little special but is still easy enough for a regular morning, these pumpkin spice pancakes are one I make every fall. They’re soft, fluffy, warmly spiced, and come together with simple pantry ingredients—nothing fancy required.
I love making these on cool mornings when everyone’s still in their pajamas, but they’re also perfect for weekend brunch, holiday breakfasts, or when you want to make a regular weekday feel cozy. They smell like pumpkin spice while they cook, and nobody ever complains when these are on the table.
Why You’ll Love These Pumpkin Spice Pancakes
- Fluffy, not gummy: gentle mixing + a short rest keeps them tender.
- Real pumpkin + warm spices: cozy fall flavor without being overpowering.
- One bowl, pantry staples: nothing fancy, just reliable.
- Freezer-friendly: make a batch now, toast later on busy mornings.
- Easy to customize: chocolate chips, pecans, or a cinnamon-butter finish.
Pumpkin Pancakes, Nana-Style
If you want pumpkin pancakes that are soft and fluffy (not heavy, not gummy), you’re in the right kitchen. These come together fast—simple pantry ingredients, warm pumpkin spice, and a batter that’s forgiving as long as you treat it gently.
30-second game plan: Mix the batter just until combined, let it rest a few minutes, then cook on a medium griddle until you see bubbles that pop and leave little holes—that’s your flip signal.
- Don’t overmix. Lumps are fine. Overmixed batter = tough pancakes.
- Watch the batter thickness. Pumpkin can vary a lot. Your batter should pour but not run like water—think “thick ribbon.”
- Make one test pancake. It tells you everything: heat level, thickness, and spice balance.
- Medium heat wins. Pumpkin batter browns faster than plain pancakes. If they’re getting dark before the centers set, turn the heat down.
- Wait for the signs. Flip when you see bubbles across the top and the edges look a little set—not wet and shiny.
- Kid-helper moment: Let little hands measure spices or stir the dry ingredients (then Nana does the final gentle mix).

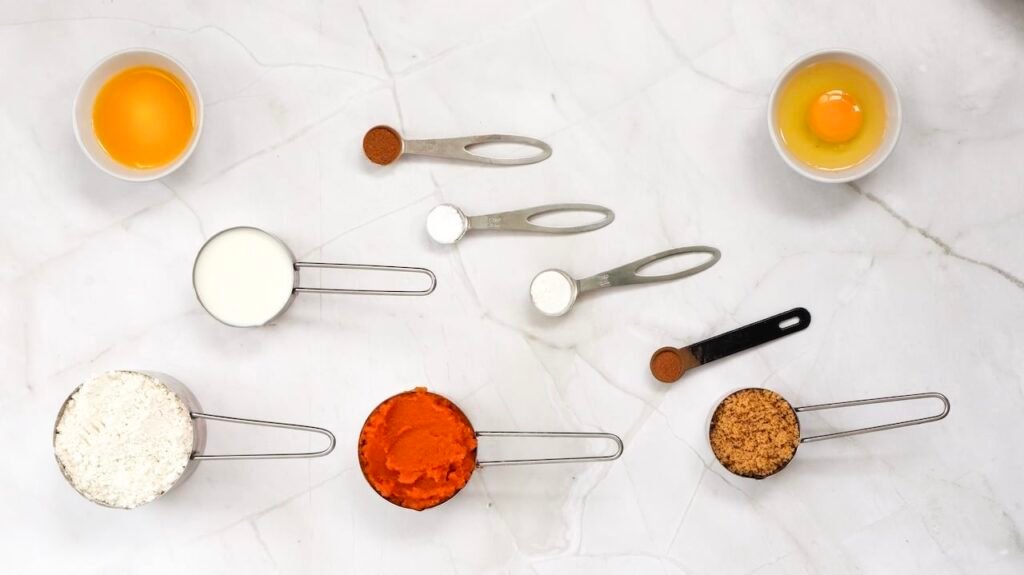
Ingredients
Here’s what you’ll need to make these soft and cozy pumpkin pancakes:
- All-purpose flour – gives the pancakes structure without making them heavy
- Pumpkin purée – use 100% pure pumpkin, not pumpkin pie filling
- Baking powder & baking soda – work together to create fluffy pancakes
- Ground cinnamon – adds warm fall flavor
- Ground nutmeg – a little goes a long way for that cozy spice
- Milk – helps thin the batter to the perfect pouring consistency
- Brown sugar – adds sweetness and a touch of caramel flavor
- Egg – helps bind everything together
- Melted butter – adds richness and moisture
- Cooking spray – for frying and preventing sticking
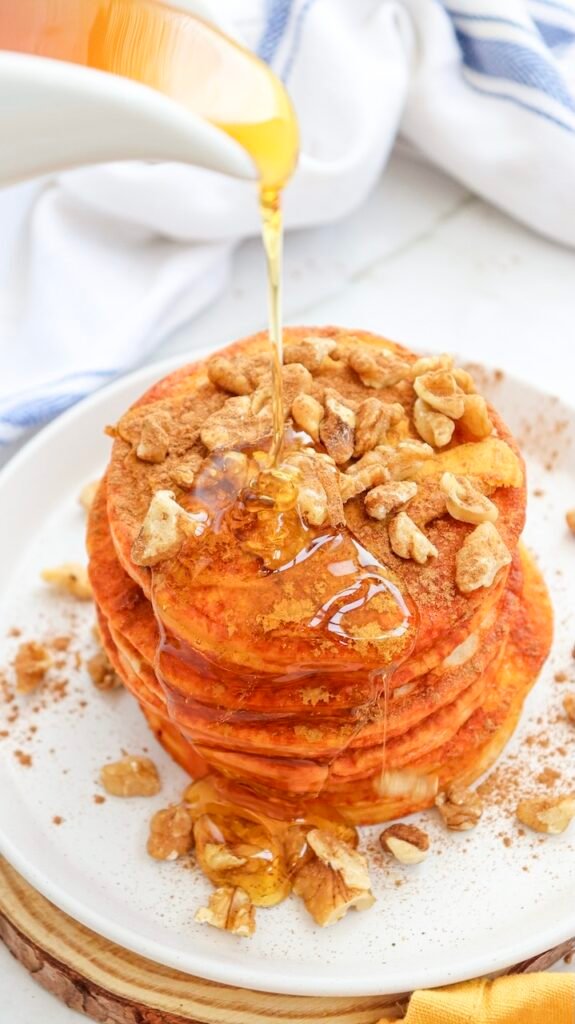
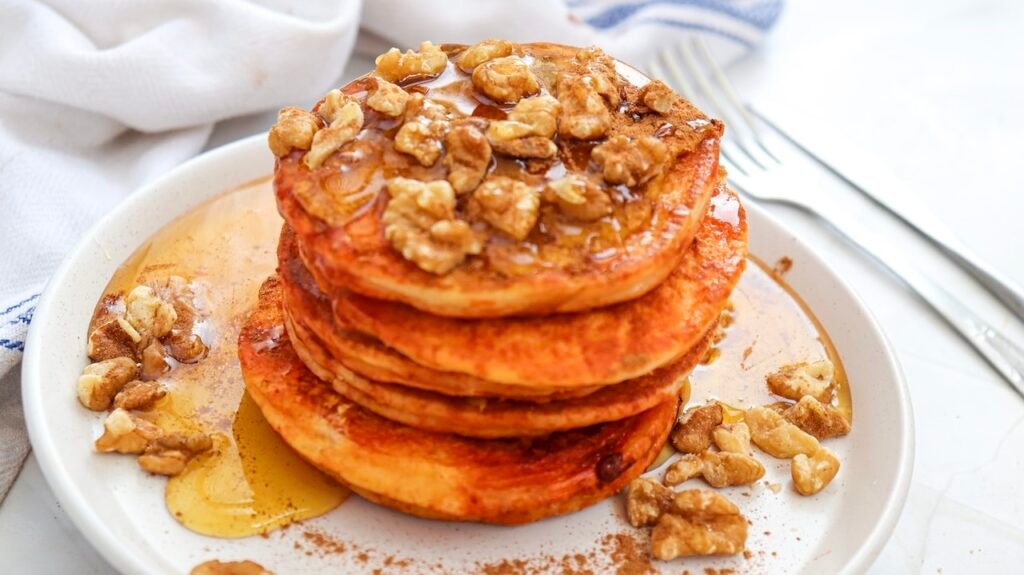
Optional Toppings
- Maple syrup – classic and always a favorite
- Whipped cream – makes these extra special
- Chopped walnuts – adds a nice crunch and nutty flavor
Quick notes
- Measure your flour lightly (spoon into the cup, level it off). Too much flour is the fastest way to dense pancakes.
- Pumpkin + baking soda/baking powder = lift, but only if you mix gently—stop as soon as the dry streaks are gone.
- Milk controls batter thickness. If your batter looks thicker than “slowly pourable,” give it a minute to sit before deciding it needs more milk.
- Melted butter helps tenderness and browning—let it cool slightly so it doesn’t “cook” the egg.
- Cooking spray for frying: medium heat is your friend so they brown evenly without scorching.
How to Make Pumpkin Spice Pancakes
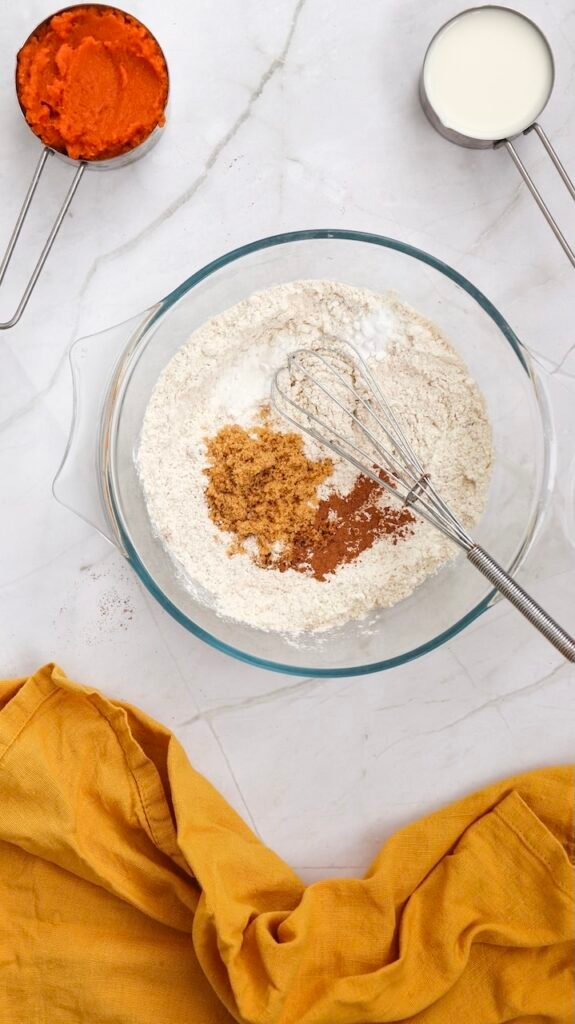
Step 1. In a mixing bowl, whisk together the flour, baking powder, baking soda, cinnamon, nutmeg and sugar. Whisk well so the spices and leaveners are evenly mixed.
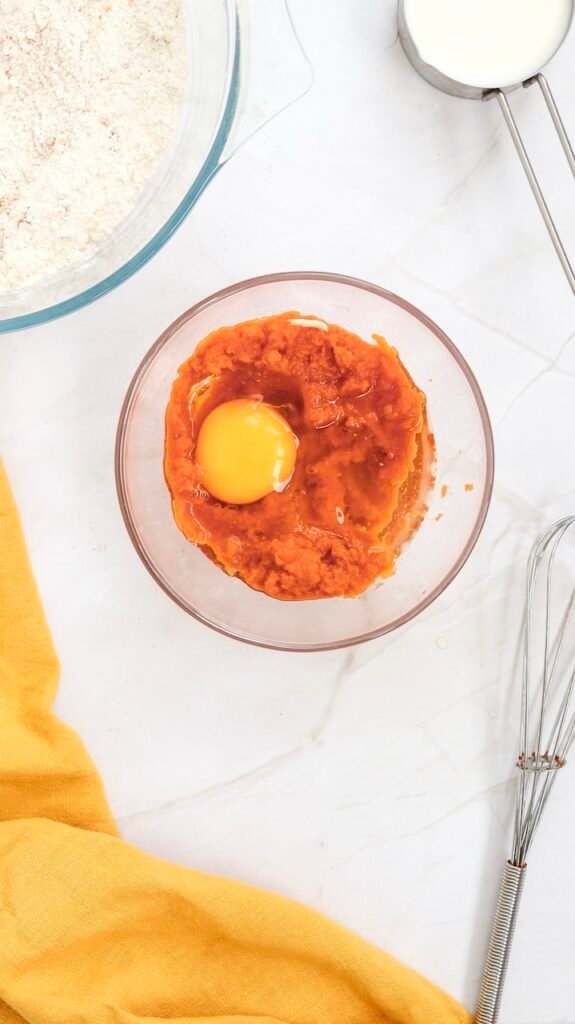
Step 2. In another bowl, mix together the pumpkin puree, milk, egg, and melted butter until well combined. Mix until smooth with no streaks.
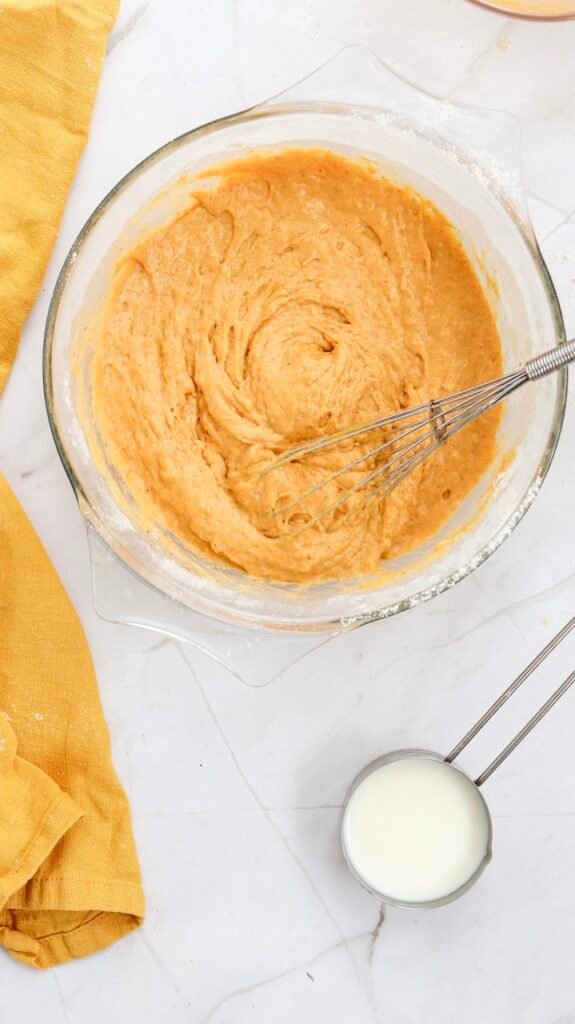
Step 3. Pour the wet ingredients into the dry ingredients and stir until just combined. Do not overmix. Stop as soon as the flour disappears—the batter can stay a little lumpy.
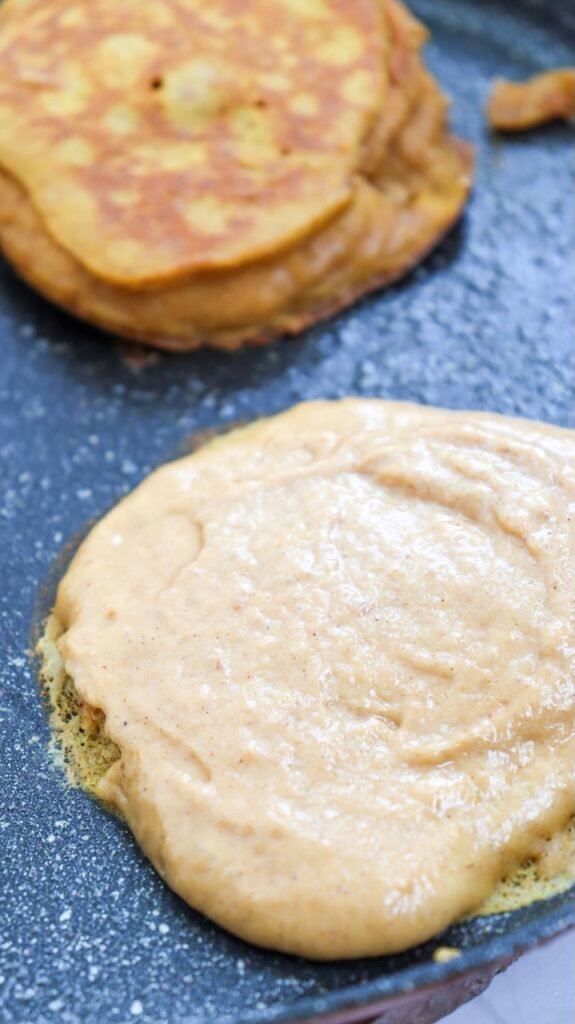
Step 4. Heat a non-stick skillet or griddle over medium heat and lightly grease it with butter or cooking spray. Let the pan preheat so the first batch cooks evenly.
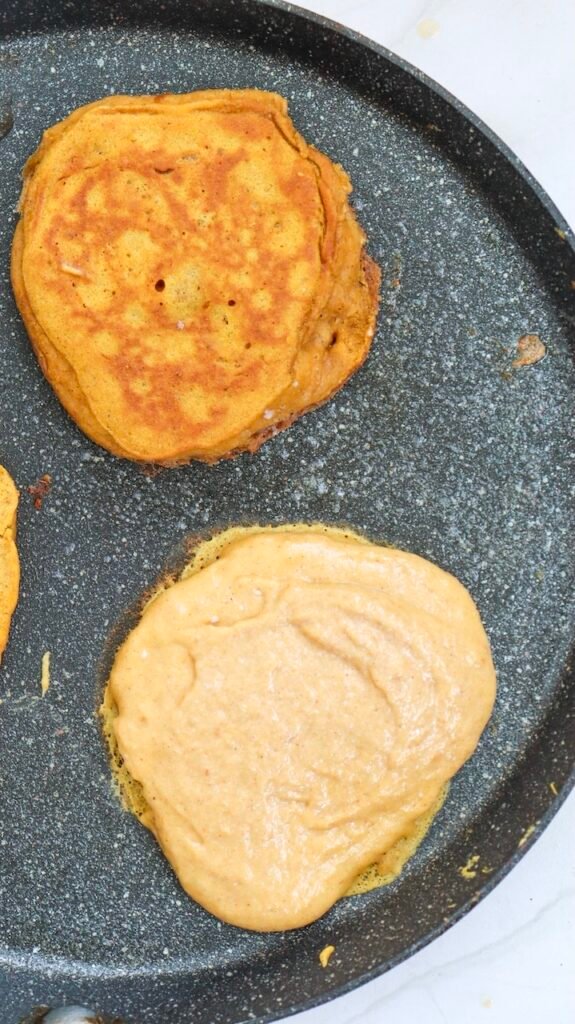
Step 5. Using a cookie scoop or small ladle, pour small amounts of batter onto the skillet to form small, 3–4-inch diameter pancakes. Leave space between pancakes for easy flipping.
Step 6. Cook for 2-3 minutes on each side, or until golden brown and cooked through. Flip when the edges look set and the top doesn’t look wet.
Step 7. Serve the pumpkin pancakes warm with maple syrup, whipped cream, and a sprinkle of chopped walnuts for added deliciousness.
Tips for the Best Pancakes
Storage, Freezing, Reheating
Storage (fridge)
Let the pancakes cool to room temp, then store them in an airtight container in the refrigerator. They’ll keep well for up to 4 days.
Freezing
- Cool pancakes completely.
- Lay them in a single layer on a baking sheet to freeze until firm.
- Transfer to a freezer-safe bag or container.
They’ll keep nicely for up to 2 months.
Reheating (best ways)
- Toaster: My favorite for bringing back a little edge crisp. Toast straight from frozen.
- Microwave: Quick and easy—heat in short bursts until warm.
- Oven: Warm a batch on a sheet pan until heated through (great for family breakfasts).
FAQs About Pumpkin Spice Pancakes
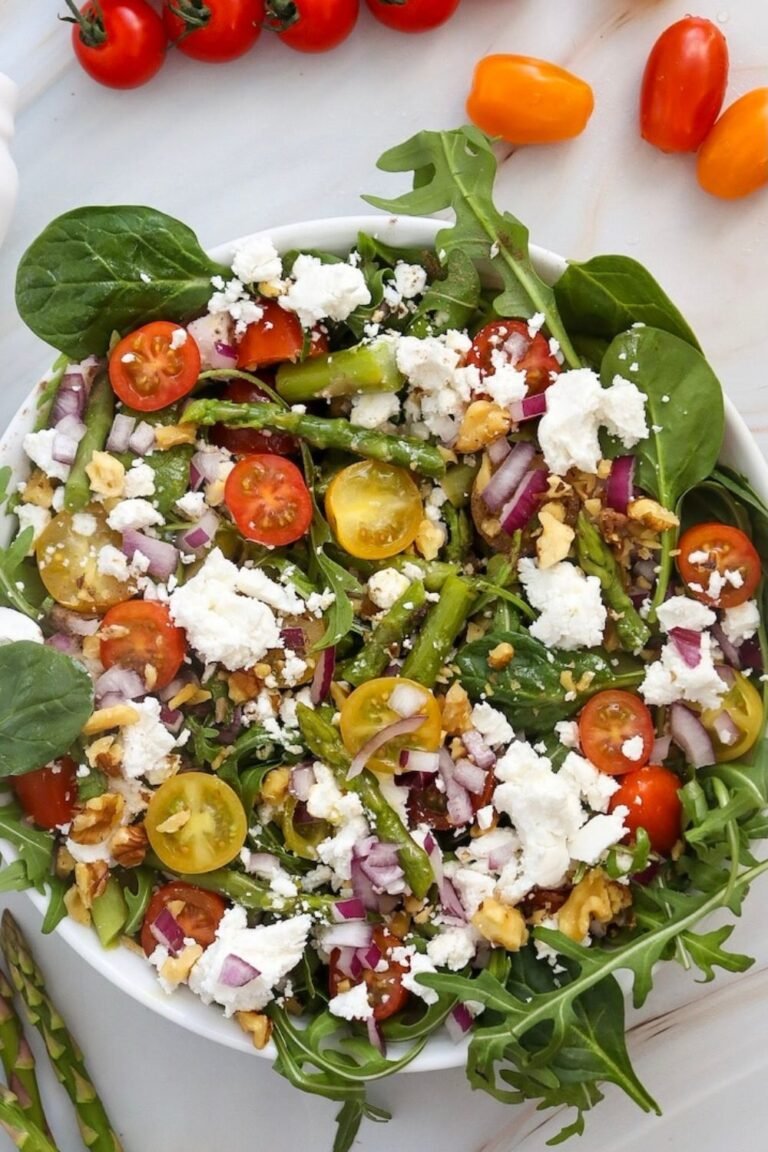
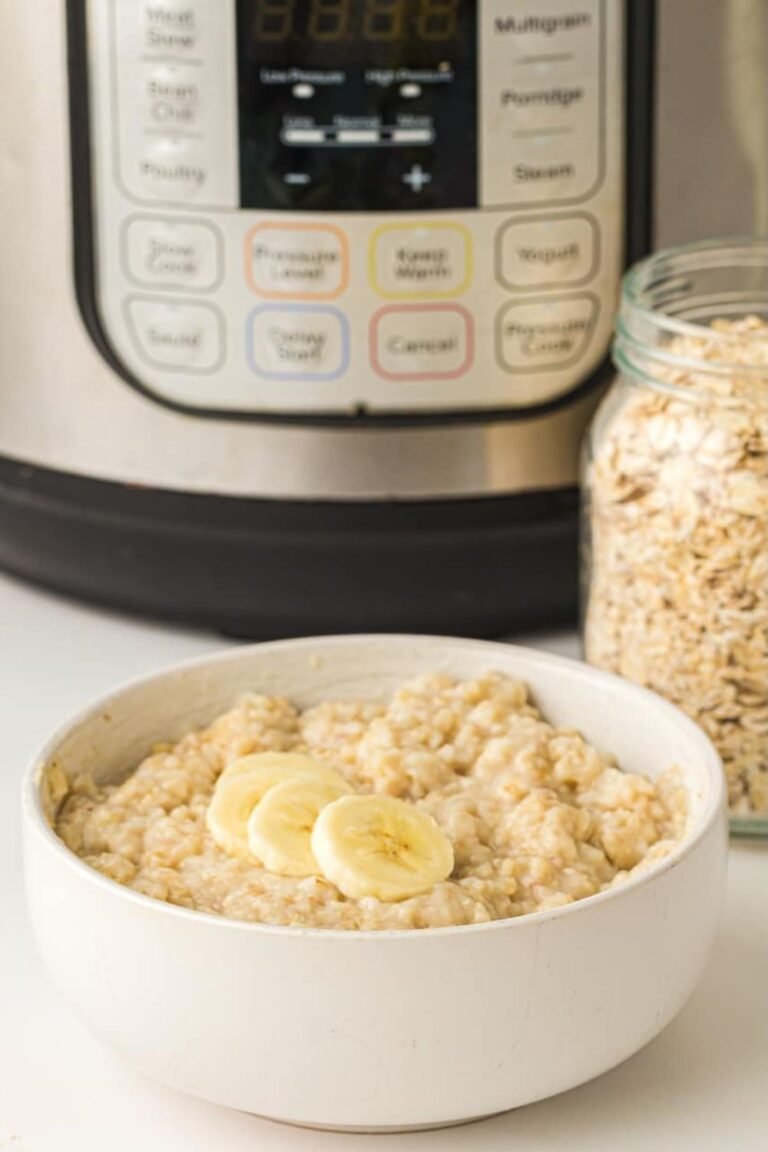
More Breakfast Recipes You’ll Love
Simple Pumpkin Spice Pancakes
- Total Time: 20 minutes
- Diet: Vegetarian
Ingredients
- l
Optional Toppings
- Maple syrup
- Whipped cream
- Chopped walnuts
- Prep Time: 10 minutes
- Cook Time: 10 minutes
- Category: Breakfast
- Method: Stovetop
- Cuisine: American
If you try these pumpkin pancakes, I’d love to hear how they turned out for you. Leave a comment below and let me know if you added anything fun—those little tips always help other readers too.