Instant Pot Oatmeal — Creamy & Easy (Rolled or Steel-Cut)
If your Instant Pot oatmeal keeps burning, turning gummy, or coming out watery, you’re not alone, I went through the same trial-and-error testing it in my own kitchen. After dozens of batches, I figured out the exact liquid ratios, cook times, and a no-burn method that make this Instant Pot oatmeal recipe work every single time.
Whether you’re using steel-cut oats or rolled oats, this pressure cooker oatmeal turns out creamy (not mushy) with almost no hands-on effort. I’ll walk you through both the classic method and the pot-in-pot technique I rely on when my Instant Pot is finicky, plus how to meal prep a healthy Instant Pot breakfast you can reheat all week.
Why This Instant Pot Oatmeal Method Works Every Time
- Pressure cooking hydrates oats evenly, forcing liquid into the grains so they soften at the same rate and turn creamy instead of uneven or mushy.
- The correct liquid-to-oats ratio prevents problems like burning, gumminess, and watery oatmeal by giving the starches enough moisture to cook properly under pressure.
- Oats can scorch if they sit directly on the hot base, which is why using enough liquid—or switching to the pot-in-pot method—prevents burn warnings and bitter flavors.
- The pot-in-pot method creates gentle, indirect heat, making it especially reliable for steel-cut oats or Instant Pots that tend to run hot.
- Natural pressure release finishes the cooking gently, allowing the oats to absorb liquid fully and thicken without splattering or overcooking.
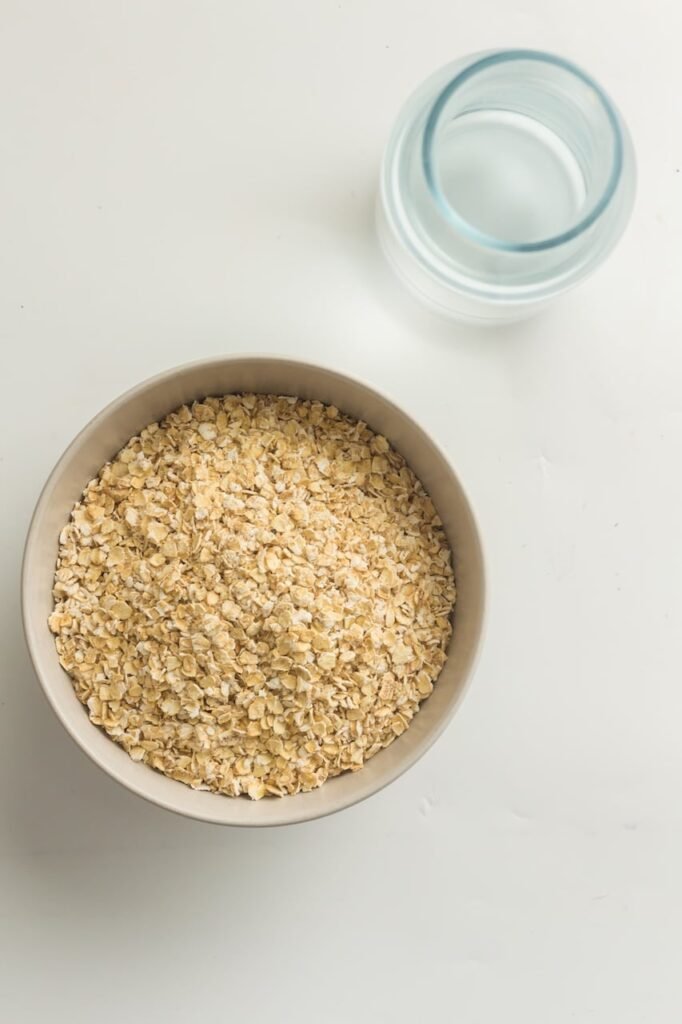
Ingredients
- 2 cups old-fashioned rolled oats
- 5 cups water
- ½ teaspoon cinnamon or vanilla extract (optional)
Equipment + Prep
Pot-in-Pot vs Direct Pot
- Direct pot: Faster, fewer dishes; works if your Instant Pot doesn’t burn.
- Pot-in-pot: Uses a bowl on a trivet; prevents burn warnings every time.
- Had burning before? Use pot-in-pot.
- Want speed? Use direct pot with correct liquid.
Instant Pot Size
- 3-quart: 1–2 servings; pot-in-pot only.
- 6-quart: Most common; either method works.
- 8-quart: Best for meal prep; always use enough liquid.
Instant Pot Oatmeal Instructions (Step-by-Step)
Rolled Oats Method
1. Add the rolled oats, water, and any optional cinnamon or vanilla directly into the Instant Pot. Give it a gentle stir so the oats are evenly distributed and nothing sticks to the bottom.
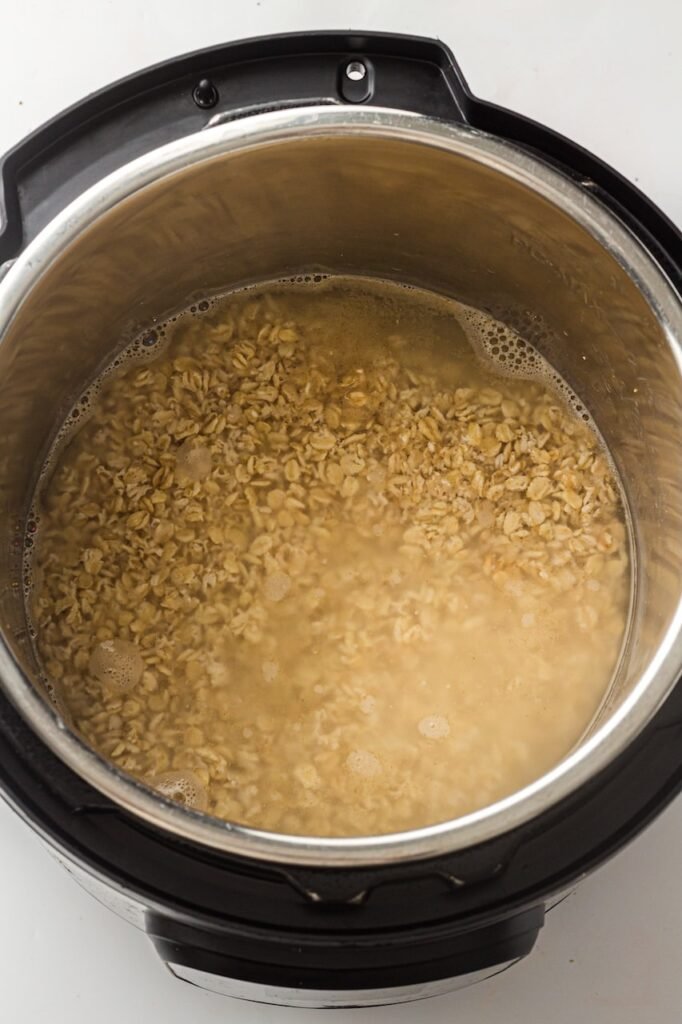
2. Close the lid securely and set the valve to Sealing. This step is important — the Instant Pot won’t come to pressure if the valve is open.
3. Set the Instant Pot to High Pressure for 2 minutes. This short cook time is enough to soften the oats without turning them mushy.
4. Allow the pressure to naturally release for 10 minutes. This gentle finish helps the oats absorb liquid evenly and prevents splattering when you open the pot.
5. Carefully quick release any remaining pressure, then open the lid and stir well. The oatmeal may look a little loose at first — that’s normal.
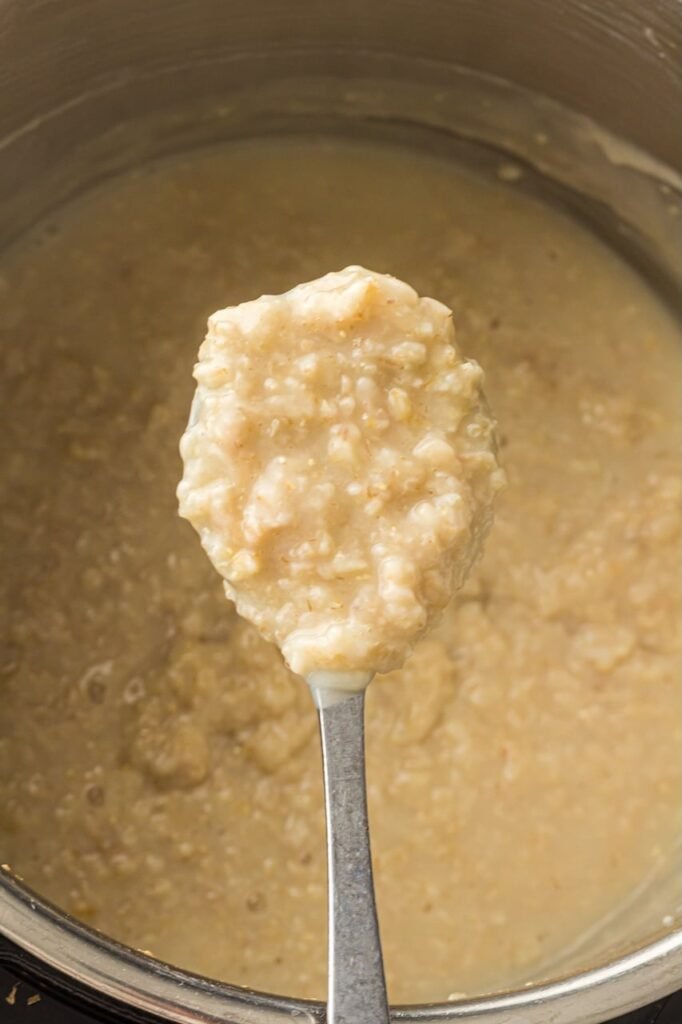
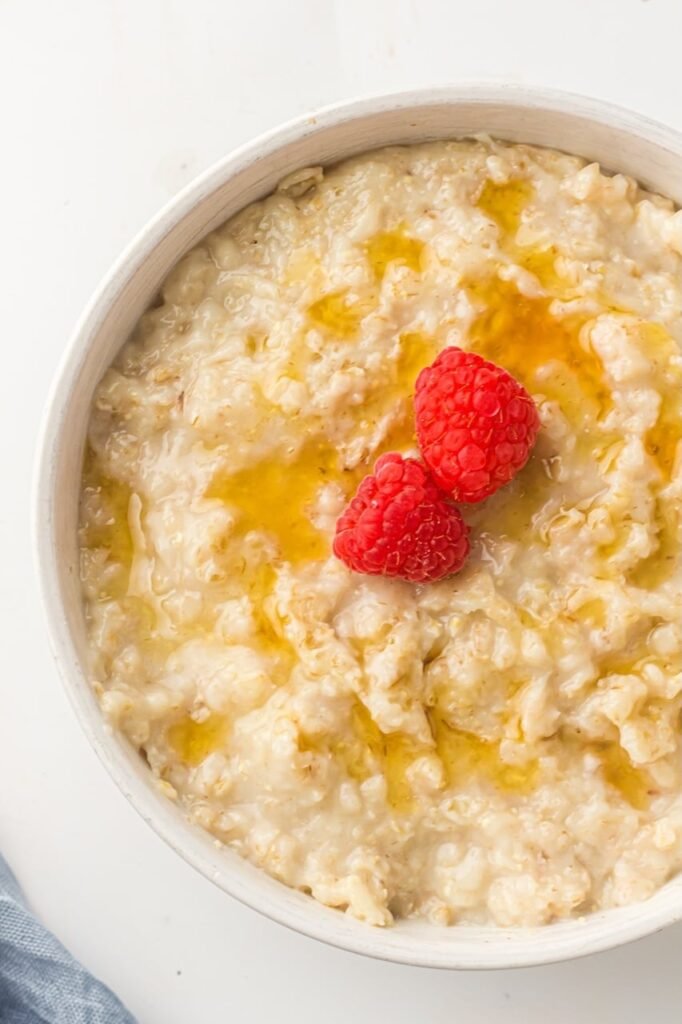
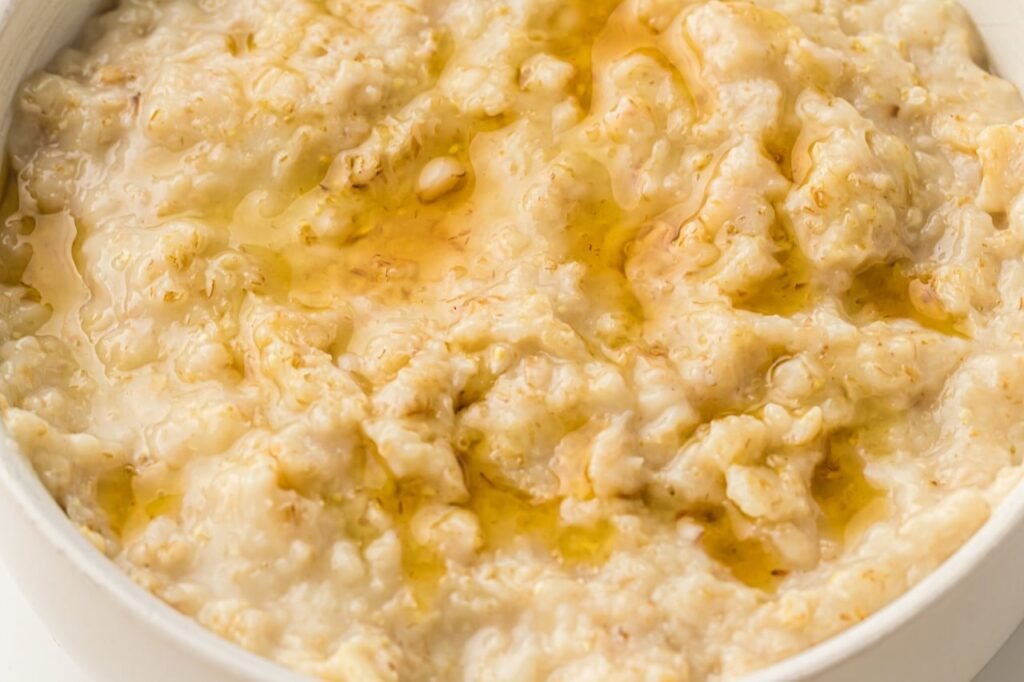
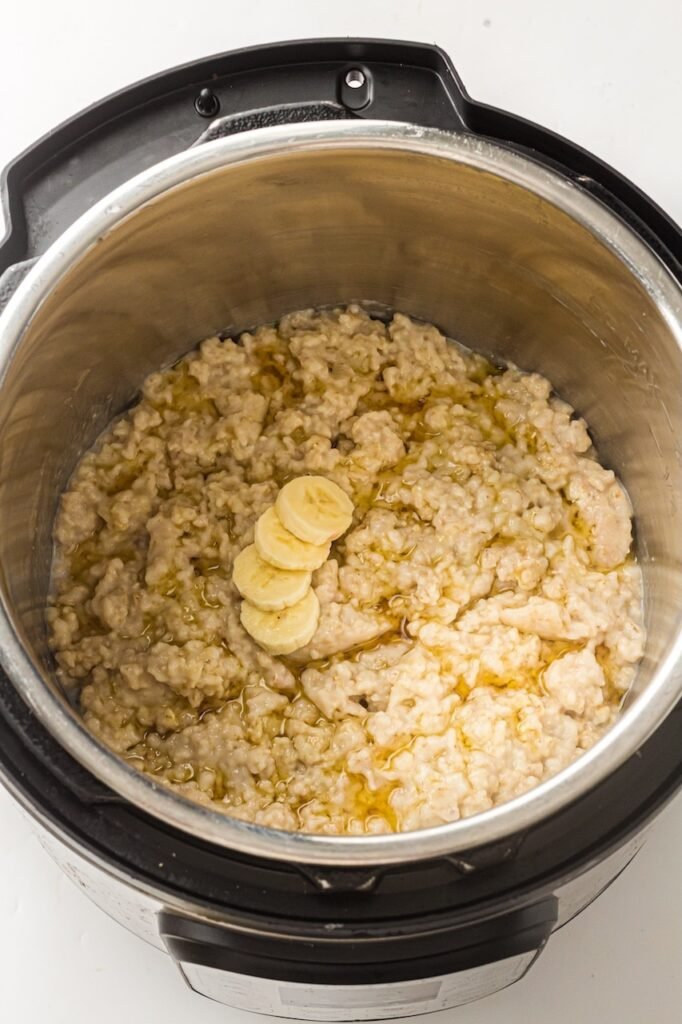
6. The oatmeal will continue to thicken as it cools. Serve right away, or let it cool completely and refrigerate for easy breakfasts later in the week.
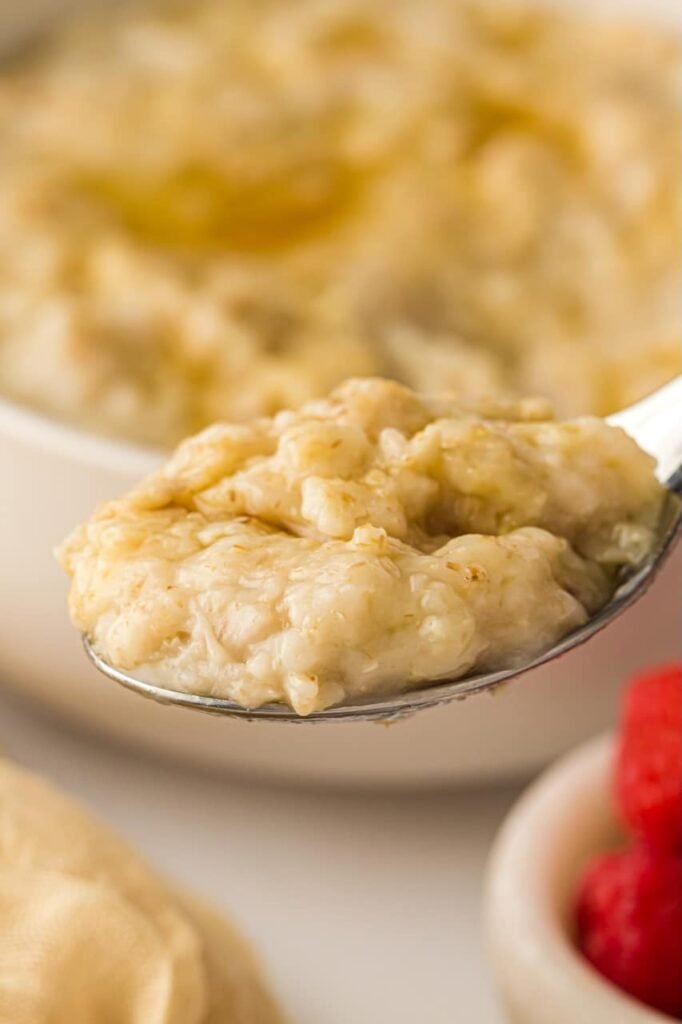
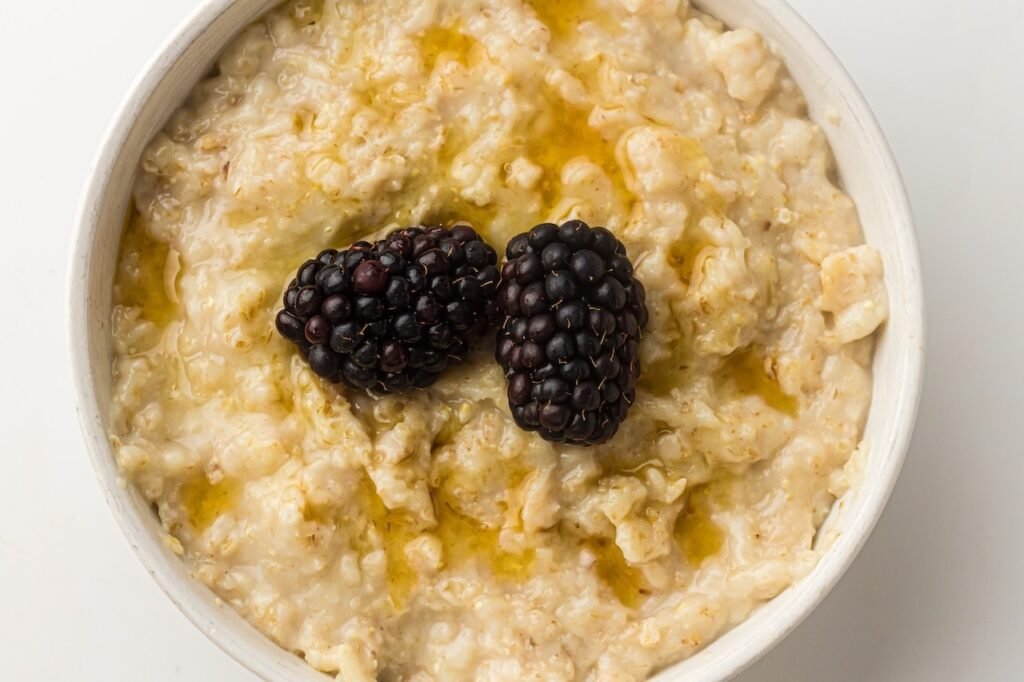
This is the moment you’re looking for — thick, creamy, and just right.
Using Other Types of Oats
Steel-Cut Oats (Heartier & Chewier)
Steel-cut oats are denser than rolled oats, so they need more water and a longer cook time in the Instant Pot. When cooked this way, they turn out creamy with a pleasant chew — not crunchy and not gluey.
- Use: 2 cups steel-cut oats and 6 cups water
- Cook: High Pressure for 10 minutes
- Release: Let pressure naturally release for 10 minutes, then quick release the rest
- After cooking: Stir well once you open the lid; the oatmeal will thicken as it sits
Good to know: If your Instant Pot has burned oatmeal before, the pot-in-pot method works especially well for steel-cut oats.
Quick Oats (Soft & Fast)
Quick oats cook much faster and absorb liquid quickly, so they need less water and very little pressure time. Overcooking is what makes them mushy, so keep the timing short.
- Use: 2 cups quick oats and 4 cups water
- Cook: High Pressure for 1 minute
- Release: Natural release for 5 minutes, then quick release
- After cooking: Stir gently; texture should be soft and smooth
How to Store and Reheat Instant Pot Oatmeal Safely
Cooked oatmeal is ideal for meal prep, but proper storage and reheating are key to keeping it both safe and creamy.
- Refrigerate promptly: Let the oatmeal cool slightly, then transfer it to airtight containers and refrigerate within 2 hours of cooking.
- Fridge storage: Store cooked oatmeal in the refrigerator for up to 5 days.
- Portion before storing: Dividing the oatmeal into single-serve containers makes reheating easier and helps it reheat more evenly.
Reheating Tips for Creamy Texture
- Add liquid before reheating: Oatmeal thickens as it sits. Stir in 1–3 tablespoons of water or milk per serving before reheating.
- Reheat gently: Warm in the microwave or on the stovetop, stirring halfway through, until hot.
- Stir well before eating: This redistributes moisture and restores a creamy consistency.
Safety Note
- Do not leave oatmeal at room temperature for extended periods, and avoid reheating the same portion multiple times. Reheat only what you plan to eat.
Instant Pot Oatmeal FAQ

Instant Pot Oatmeal
This creamy Instant Pot oatmeal turns out perfectly every time — never burnt, gummy, or watery. An easy, hands-off breakfast ideal for busy mornings or meal prep.
- Total Time14 minutes
- Yield14–15 minutes 1x
Ingredients
- 2 cups old-fashioned rolled oats
- 5 cups water
- 1/2 teaspoon cinnamon or vanilla extract (optional)
- Pinch of salt (optional)
Instructions
- Add the rolled oats, water, and optional cinnamon or vanilla directly to the Instant Pot. Stir gently to combine and prevent sticking.
- Close the lid and set the valve to Sealing.
- Cook on High Pressure for 2 minutes.
- Let the pressure naturally release for 10 minutes, then carefully quick release any remaining pressure.
- Open the lid and stir well. The oatmeal may look loose at first but will thicken as it cools.
- Serve immediately, or let cool completely and refrigerate for later.
Notes
- Oatmeal will look loose at first and continue to thicken as it sits.
- Stirring after cooking is essential for the final creamy texture.
- Suitable for meal prep; reheats well with a splash of water.
- Prep Time: 2 minutes
- Natural Release: 10 minutes
- Cook Time: 2 minutes
- Category: Breakfast | Brunch
- Method: Instant Pot
- Cuisine: American
Nutrition
- Serving Size: 1 cup cooked oatmeal
- Calories: 190 kcal
- Sugar: 1 g
- Fat: 4 g
- Carbohydrates: 33 g
- Fiber: 5 g
- Protein: 6 g